
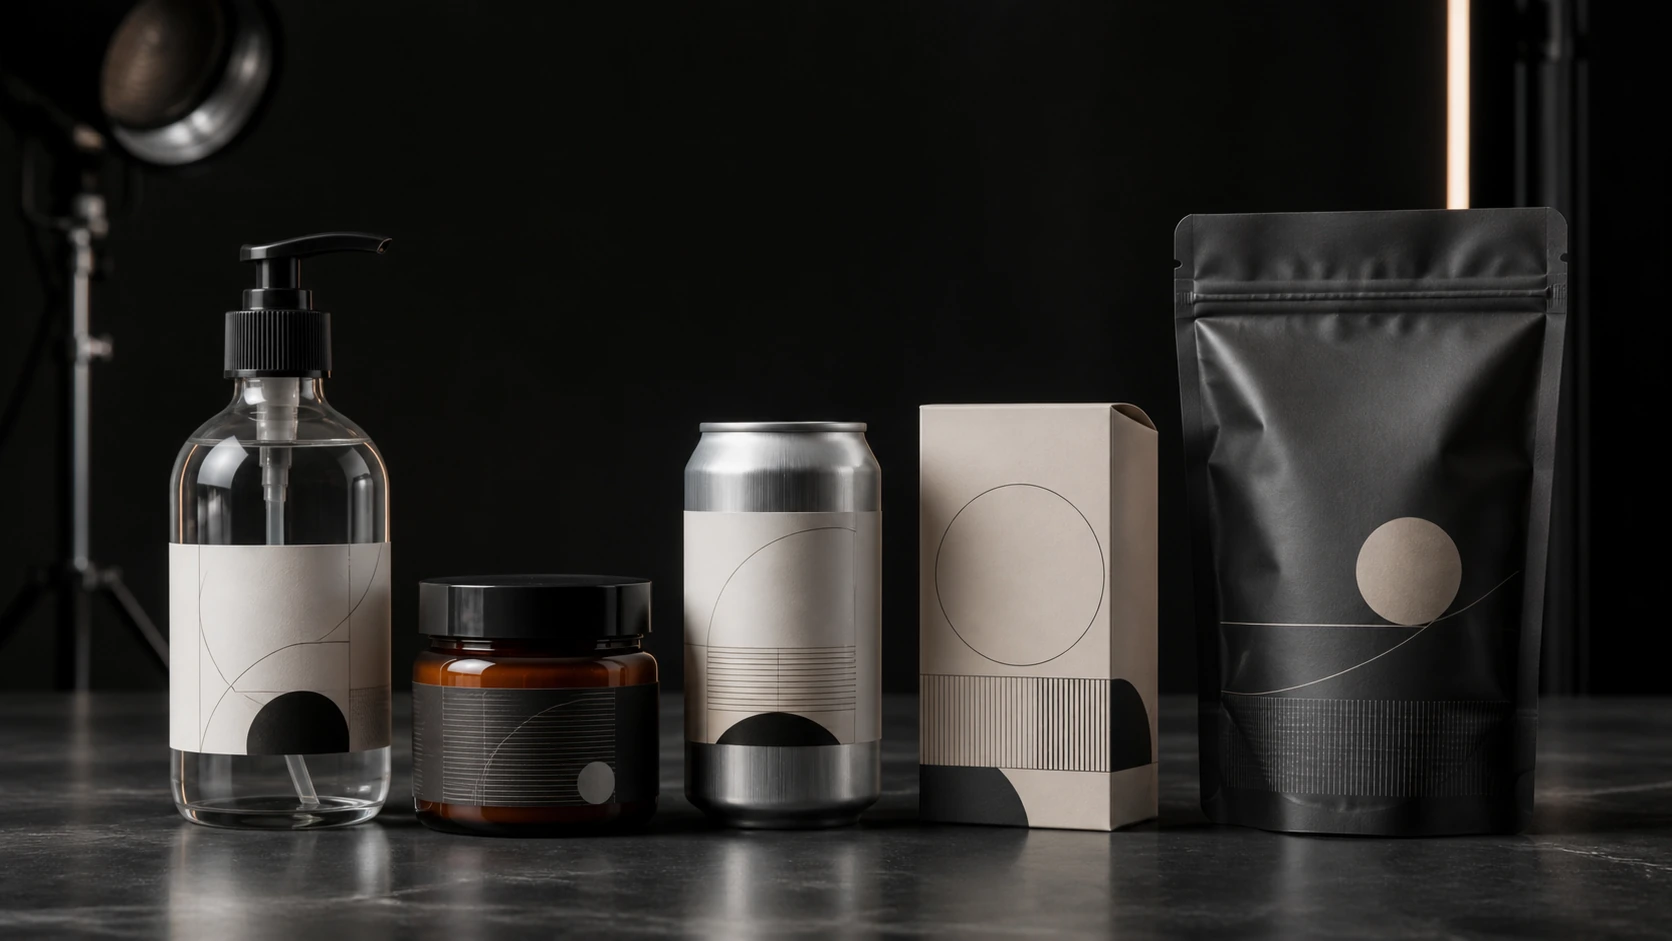
Choose Nightjar for a packaging catalog that needs to look like one brand across new flavors, sizes, and launches. Its Products keep each item's defining photos and factual details ready to reuse; Recipes save the Photography Style, background choice, framing, and delivery settings. That lets a team change the package being photographed without rebuilding the shoot direction. Built-in visual review can also retry obvious product, readable-text, or brand-mark failures at no extra Credit cost. Exact label and artwork approval still belongs to a person.
For a job that must preserve approved package pixels, choose a controlled Photoshop composite. For OCR-assisted copy review before generation, consider Pebblely; for automatic region checks and local repair, consider Photoroom. These are workflow recommendations based on current product code and official documentation reviewed on September 9, 2026, not a measured ranking of label accuracy.
| Tool | Choose it for | Mechanism to test on your packaging |
|---|---|---|
| Nightjar | Repeat catalog and campaign production | Reusable Product evidence, Recipes, and built-in visual review |
| Photoroom | Automatic checks and local repair | Source-region comparison and a Fix it route on supported tools |
| Pebblely | Reviewing interpreted label copy | Automatic text extraction that you can correct before generation |
| Adobe Photoshop + Firefly | Exact-artwork compositing | Separate source layers and selected generative regions |
| Pixelcut Product Studio | Quick scene variations | Upload, choose a scene, adjust angle/background, and generate variations |
| Claid | Automated background and delivery pipelines | Cutout, background generation, resize, and other API operations |
| Flair.ai | CPG campaign concepts and arrangements | Packaging concepts, lifestyle settings, and multi-product layouts |
| Mokker | Templated backgrounds and scene reuse | Scene templates, moodboard references, and Product Replace |
| ChatGPT Images | Conversational edits | Upload editing and area selections |
| Gemini | Multi-image exploration | Combine references and refine an image in conversation |
| Midjourney Edit Model | Visual concepts and alternative viewpoints | Reference-guided editing, inpainting, and outpainting |
Compare the complete production job, including setup, review, and corrections. The broader AI product photography roundup covers the category beyond packaging.
What does packaging fidelity mean in AI product photography?
Packaging fidelity means preserving the exact visible text, brand marks, artwork hierarchy, geometry, closure, variant, color, material behavior, transparency, reflections, and contents of the real SKU. A pleasant image can still fail the commercial job if it depicts the wrong dosage, count, cap, bottle shoulder, pouch gusset, panel layout, colorway, or fill level.
Packaging-heavy products include bottles, jars, tubes, cans, cartons, pouches, sachets, tubs, blister packs, and cellophane-wrapped goods. Their sellable identity depends on details printed on, attached to, or visible through the package. Shopify's own product-photography guidance tells merchants photographing a bottle to keep its label type centered, which makes typography a basic capture requirement rather than a concern created by AI.
Packaging-fidelity definition: the generated image must depict the approved SKU, not a plausible package from the same category.
The STRICT text-rendering benchmark found problems with coherent, instruction-aligned text in the models it evaluated. It is background research, not a score for today's packaging tools. The practical distinction is simple: readable-looking words can still contain the wrong dosage, count, or flavor. Review packaging as an exact SKU across text, logo, artwork, geometry, components, variant, material, scene integration, correction effort, and repeatability.
Generative systems synthesize pixels from learned patterns; a reference can reduce ambiguity without becoming an authoritative package file. The guide to why AI product photos do not match the real product explains that failure mechanism. For practical recovery steps, use the guide to stopping garbled product text and logos.
Which packaging-photo workflow carries the least product-identity risk?
The lowest-risk packaging workflow asks AI to invent the least product information: preserve approved product pixels where possible, regenerate only when a new view is necessary, and repair only the failed region. New-angle generation carries the highest risk because unseen panels, wrapped artwork, geometry, transparency, and reflections must be inferred.
| Workflow | Product information AI may invent | Suitable methods and tools | Required review |
|---|---|---|---|
| Preserve an approved view and change its surroundings | Scene, light integration, shadow, reflection, and occlusion | Photoshop layers and masks for source-pixel preservation; background tools such as Pixelcut, Claid, and Mokker for generated scene options | Check whether product pixels changed, plus edges, scale, grounding, transparency, and shadow |
| Regenerate from an evidenced view | Product pixels and scene integration | Nightjar, Photoroom, Pebblely, Flair | Compare exact text, logos, artwork, geometry, closure, variant, color, and materials at full resolution |
| Generate a new angle | Unseen surfaces, wrapped artwork, shape, contents, transparency, and reflections | Nightjar with several Product Photos and factual context; exploratory Gemini or Midjourney work | Require references showing the target surface; reject unsupported invention |
| Repair one failed region | Selected pixels and their local light or texture | Photoroom Fix it on supported tools, Photoshop masks and layers, ChatGPT selections | Compare the repaired region, its boundary, and all supposedly unchanged areas with approved sources |
For an unchanged-view job, isolate the accepted packshot and build the scene around it. The guide to blending a product into a stock photo or background covers perspective, light, grounding, and usage rights. When one region fails, a narrow mask is safer than rebuilding an image that otherwise passed. A mask limits edit scope, but it does not prove the corrected letters, barcode, material, or geometry are accurate; the inpainting guide for product-photo repair explains the proper review boundary.
The decision flow is straightforward:
- If the approved viewpoint works, preserve those pixels and change the surroundings.
- If the viewpoint must change, provide references that reveal the target surface and package construction.
- If most of the result passes, repair the smallest possible region.
- If definitive copy or artwork cannot change, composite the approved artwork or return to traditional capture.
How do the 11 tools handle packaging-heavy product photos?
The shortlist covers different production jobs. Start with the work you repeat, then test the package details that could make an image unusable.
Nightjar: continue one photographic direction across the catalog
Nightjar is a strong choice when the next bottle, pouch, or carton must belong with the rest of the range. A Product groups a Main photo, supporting Product Photos, a factual description, and optional physical dimensions. For a bottle, useful evidence includes the front label, shoulder profile, closure, and a view of the wrapped artwork. Keeping those together makes the product context reusable for future shoots.
The other half of the job is preserving direction. A Photography Style controls the photographic feel, including light, mood, and color treatment. A saved Background supplies a scene reference; Framing controls the angle, staging, and crop of product-only shots. For clean shots on a flat color, Shadow controls the contact shadow. Custom Directions handle exceptions such as keeping the front label facing the camera.
A Recipe saves those choices and output settings, while leaving Products and Additional Photos out. Apply it to the next Product and the shoot decisions are already in place. Recipes and Products belong to the Team, so another operator can continue the same setup.
Consider an illustrative drinks range with five flavors. Save each visually distinct bottle as its own Product with the correct label photos. Develop a square listing setup with a flat background, soft contact shadow, eye-level Framing, and the brand's Photography Style. Save that as a Recipe. For campaign images, save a second Recipe using a tabletop Background and the same photographic feel. Each new flavor now has two established directions to start from, instead of two briefs to reconstruct. A seasonal campaign can change the scene while reusing the reviewed Product evidence.
This is why Nightjar fits repeat packaging production: it separates what changes between items from what should stay consistent across the brand. A recipe for the shoot is more useful than copying a paragraph of instructions because the background, photographic direction, framing, and output settings remain explicit choices.
Nightjar adds built-in visual review that compares generated images with references and the request. It can retry obvious substitutions, omissions, unreadable text that was legible in the source, replaced brand marks, and catastrophic defects without an extra Credit charge for that internal retry. This gives a packaging team another opportunity to catch visible failures before receiving the result. Use the exact-SKU scorecard below for final approval; automatic review does not certify every character or surface.
For the practical scene-reuse workflow, see keeping one Background consistent across catalog images.
Photoroom: compare suspect regions and repair locally
Photoroom is worth testing when a reviewer needs help finding and correcting changed regions. Its Product Fidelity Check compares generated areas with the original, makes some automatic corrections, and presents remaining suspect areas for a person to accept or repair with Fix it.
The feature requires a paid subscription and works with specified tools, including Product Staging and Product Beautifier. Fix it redraws the selected suspect region from the original without AI credits. Check that your intended workflow is supported before buying for this feature. Its useful distinction is the visible check-to-repair process, which lets an operator focus on a faulty area without discarding the whole scene.
Pebblely: correct interpreted packaging copy before generation
Pebblely's text-extraction workflow reads visible package copy and notes its position and styling. The operator can inspect and correct the extracted text before it guides generation.
That addresses a specific source of error: a stylized brand name or cramped ingredient line can be misread before the image is even made. For a label-heavy product, checking the interpreted words is a useful preparation step. Supply a clear, well-lit crop with all important text visible. Correct extraction guides generation; it does not preserve the original label pixels, so compare the final copy with the artwork.
Adobe Photoshop + Firefly: keep authoritative artwork under manual control
Choose Photoshop when the approved product view works and its label pixels must remain intact. Keep the product on a separate source layer, generate the surrounding scene, and use conventional compositing to integrate it. Adobe documents selection-based Generative Fill and a separate Generative Layer, which provides a useful boundary between source material and invented scenery.
| Layer | Before generative work | After generative work |
|---|---|---|
| Approved product | Protected source pixels | Checked against the source |
| Scene | Empty or source background | Generated or retouched around the product |
| Approved label artwork | Original supplied file | Placed under operator control |
| Shadow and reflection | Source-dependent | Retouched to match the accepted scene |
| QA comparison | Approved reference | Checked before export |
For curved labels, place approved artwork with controlled perspective and curvature rather than asking a generator to spell microcopy. This route takes retouching skill, but it gives the operator direct control over the pixels that establish product identity.
Pixelcut Product Studio: make quick scene variations from an upload
Pixelcut Product Studio offers Studio and Lifestyle scene formats, angle and background controls, prompt instructions, aspect ratios, and output up to 4K. Its short upload-to-variation path suits a seller exploring several surroundings for an existing packshot.
Pixelcut describes the uploaded product as the fixed part of the result. Test that claim with your own fine type, foil, clear edges, and closures before relying on it. The same page also documents bulk editing and API access, so a pilot can include the delivery workflow as well as individual images.
Claid: connect background generation to a production pipeline
Claid's Background Generation API combines scene production with background removal, upscaling, resizing, and lighting operations. It also describes reference-based scenes and reusing an approved background with different products.
That makes Claid a relevant choice when software needs to ingest packshots, prepare the cutout, create scenes, and normalize delivery. Test it on the full sequence: the label may survive while a transparent edge or the final crop fails. Its documented value is the connected pipeline, which can reduce separate image-processing steps.
Flair.ai: explore CPG arrangements and campaign concepts
Flair's CPG tools cover packaging concepts, lifestyle settings, seasonal imagery, and multi-product arrangements. Consider it when deciding how a bundle, launch, or promotional set should look.
Keep the intended use clear: a visualization of a package that does not exist yet is a design concept. For photos representing a product already on sale, run the same exact-SKU checks as the rest of this shortlist.
Mokker: reuse a surrounding scene with another product
Mokker offers background replacement, scene templates, moodboard references, and Product Replace. The last feature reuses a photo while replacing the product, making it relevant to repeating a simple scene across a range.
Pilot the package boundary and grounding as well as the layout. For a seller whose main task is moving known packshots into a small set of backgrounds, this is a focused workflow to compare with a broader production system.
ChatGPT Images: iterate on packaging imagery in conversation
ChatGPT Images accepts uploaded images and written editing requests, with selections for area-specific changes. It is useful for exploring a scene or discussing successive revisions. OpenAI also documents image templates and a library for revisiting generated images.
For packaging correction, one operational limitation matters: OpenAI says edits can extend beyond the selection. Review the whole package after a local change. Choose Nightjar when the recurring task is applying explicit product-photography controls to saved Products across a catalog; choose conversational editing when discussion and exploration are the main work.
Gemini: combine references and explore a new view
Gemini's image-editing documentation describes uploaded-image edits, combining multiple images, and local changes. Its current Nano Banana 2 workflow accepts multiple references, which makes it useful for exploring a scene using several source photos.
For packaging, provide a view of the surface you want shown. A front label alone does not establish the side artwork or bottle construction. Compare the resulting view with the supplied evidence before turning a concept into a selling image.
Midjourney Edit Model: develop reference-guided visual concepts
Midjourney's Edit Model supports written edits, up to four reference images, inpainting, and outpainting. It can also change perspective, which is useful for art-direction exploration.
Use it to investigate possible looks, then judge any image representing a real SKU against the same package evidence. Reference influence provides creative guidance; exact artwork remains a separate acceptance criterion.
How should a brand test AI tools on one exact packaging SKU?
A packaging-tool pilot should use the same exact SKU, references, requests, full-resolution inspection, correction timer, and pass conditions for every shortlisted tool. Choose representative SKUs that cover the difficult cases in your catalog, such as transparent materials, reflective surfaces, or dense labels. Expand the pilot when a new package type raises a different question.
Prepare a clean front packshot, back or side view, closure or detail image, dimensions and material notes, and approved artwork wherever the tool accepts them. Run two universal jobs: a clean listing-style image from the closest supported viewpoint and a lifestyle scene that keeps the source viewpoint unchanged. Add a new-angle request only when the tool supports it and a reference reveals the target surface.
Review at full resolution. Record pass or fail by criterion, the correction method, and minutes spent. Repeat one accepted direction across different SKUs and, when relevant, another operator to inspect catalog drift and re-briefing overhead. The guide to preventing product-shape changes covers the geometry and unseen-angle part of the pilot, while the general AI product-photo buying framework covers wider workflow considerations.
Which criteria belong in an exact-SKU packaging scorecard?
An exact-SKU scorecard must grade text, brand marks, artwork, geometry, components, variant identity, materials, scene integration, correction effort, and repeatability separately. A single beauty score hides the failures that turn an attractive image into the wrong product.
| Criterion | Pass condition | Common failure | Review method |
|---|---|---|---|
| Visible text | Exact spelling, numbers, punctuation, units, line breaks, and symbols | Readable but wrong dosage, quantity, unit, or letter | Compare with approved artwork at 100% zoom |
| Logo and brand mark | Correct shape, proportion, color, clear space, and placement | Distorted mark or shifted lockup | Overlay or blink comparison |
| Artwork hierarchy | Correct panel layout, type scale, badges, illustrations, and color blocks | Correct words in the wrong layout | Compare with the dieline or artwork proof |
| Package geometry | Correct ratio, shoulders, corners, seams, gussets, neck, base, and symmetry | Generic bottle, pouch, or box substituted | Silhouette overlay and dimension check |
| Closure and components | Correct cap, pump, nozzle, dropper, seal, insert, and accessories | Missing or invented component | Compare all source views |
| Variant identity | Correct flavor, scent, shade, size, count, strength, and configuration | Neighboring SKU depicted | Match the catalog record and approved packshot |
| Material behavior | Plausible glass, foil, paper, film, plastic, liquid, finish, and reflections | Opaque glass, false seam, or impossible refraction | Inspect edges, transparency, contents, and specular detail |
| Scene integration | Correct scale, perspective, occlusion, grounding, shadow, reflection, grain, and depth | Floating or oversized package | Inspect against scene cues |
| Correction path | Local fault can be fixed without damaging accepted regions | Full regeneration introduces new faults | Time the complete correction loop |
| Repeatability | Accepted direction transfers across the representative SKU set | Drift or repeated manual re-briefing | Generate the test set and compare it as a grid |
How can packaging text and logos be kept exact?
When visible text must be definitive, preserve approved product pixels or composite approved artwork. A readable generated label can still be the wrong label. Use the product text and logo guide for the recovery path and the inpainting guide when a local repair is appropriate.
For generated views in Nightjar, include readable label details and the relevant package surfaces in the Product Photos. That makes the evidence available again for later shoots. Keep authoritative artwork alongside the review process so the reviewer can verify the characters, symbols, and layout directly.
How should AI tools handle glass, clear plastic, film, and reflective packaging?
Transparent and reflective packaging requires references that reveal edges, seams, closures, fill level, reflections, refraction, and visible contents, followed by full-resolution human review. A single front packshot may hide wall thickness, side seams, liquid color, back-label refraction, cellophane folds, or closure construction.
Favor unchanged-view compositing when the clear package already looks correct. A new view needs side, top, and detail evidence plus factual material notes. In Nightjar, choose an image-backed Background and a Photography Style whose light and tonal contrast make the package boundary easy to inspect; a moody scene that hides the edge also hides errors.
Check each result for:
- clean edges without halos or missing clear areas;
- the correct fill level, liquid color, bubbles, and visible contents;
- plausible front and back label interaction through glass;
- real seams, folds, crinkles, wall thickness, and closure construction;
- consistent reflections and refraction across the product and scene;
- no duplicated label, impossible internal geometry, or invented specular marks.
The AI guide to bottles and cellophane packaging covers reference and review choices. For physical capture, see the guide to photographing transparent products, glass bottles, and liquids.
How does an approved setup become a repeatable packaging workflow?
After the pilot, keep both the accepted direction and the reasons images failed. In Nightjar, save the Create-form setup as a Recipe and retain the defining photos in each Product. For the next launch, select the new Product, apply the Recipe, generate, and review against that item's artwork. The team can concentrate on what changed in the package instead of reselecting the background, framing, and export settings.
Assign a final reviewer and record whether a failure involved copy, geometry, material, or scene integration. Repair locally when most of an image passes; use exact compositing or a reshoot when the fault requires authoritative pixels or a missing source view. Those records make the next production decision easier: improve the evidence, adjust the direction, or change the production method.
How should brands compare the real cost of AI packaging photography tools?
The useful cost measure for packaging photography is approved-image cost, including software, review labor, correction labor, rejected outputs, and reshoot or retouching fallback. Per-generation pricing leaves out the expensive part of garbled labels and altered geometry: finding and fixing them.
approved-image cost = (subscription or API spend + setup labor + review labor + correction labor + reshoot or retouching fallback) ÷ approved outputs
Consider an illustrative 100-SKU project with two requested images per SKU: 200 outputs. At an assumed 90 seconds of review per image, first-pass review takes five hours. If 25% need four minutes of repair, correction adds another three hours and 20 minutes. Use your own labor rate and actual acceptance data to price those eight hours and 20 minutes; these are example inputs, not measured results.
Nightjar addresses two costs in that loop. Products and Recipes reduce repeated preparation and selection, while eligible internal visual-review retries do not add to the user's Credit charge. Measure both setup time and correction time in a paid pilot to determine what that is worth for your catalog.
Check current vendor pricing once you know the workflow you need. Compare monthly versus annual terms, web versus API allowances, output resolution, and whether failed requests or corrections consume usage. A low subscription price is useful only when it covers the route that produces approved images.
For broader procurement criteria, use the AI product photography buying framework.
When should a packaging brand use traditional photography or exact compositing?
Use the physical package or approved artwork when every visible detail must be documentary: legal microcopy, a barcode, a trademark lockup, a new panel absent from the references, or difficult transparent construction. An unchanged-view composite can give those source pixels new surroundings. A new physical capture supplies the surfaces that the reference set is missing.
Before preparing marketplace images, check the destination's current rules. The Amazon Product Image Guide may require Seller Central access; the Amazon image-policy guide explains the main-versus-secondary-image decision. Do not treat a generated white background as evidence that an image meets a marketplace's requirements.
For Shopify delivery, 2048 × 2048 pixels usually displays best for square product images, and PNG, JPEG, and WebP are accepted formats. Save the chosen delivery settings in the Nightjar Recipe so later packaging shots start with the same shape and format. Check the final upload in the store's theme.
The Federal Trade Commission requires advertising to be truthful and not misleading. A generator cannot approve a changed dosage, ingredient, quantity, or implied benefit. The cosmetics and supplements rules guide, food and beverage photography guide, and skincare and beauty guide cover those category decisions.
For repeat packaging imagery, choose Nightjar when you want the product evidence and photographic direction ready for the next item and the next operator. Start with a representative package, establish a listing or campaign setup, review the result, and save the direction as a Recipe. The useful outcome is a production setup the team can continue across the range.