Quick Answer
AI product photos look fake when one or more layers of the image fail independently: the source is too small, the product silhouette has drifted, the lighting on the product disagrees with the scene, the contact shadow is missing, the depth of field does not match the product scale, the materials render as plastic, the model's hands are wrong, the prompt is stuffed with ornament words, the scene does not fit the product category, or the output resolution does not match the channel. Run a candidate image through these ten checks at 100% zoom, and most "looks fake" failures become five-minute fixes at the source. Tools built around reusable photographic ingredients, like Nightjar, are designed to pass the checklist on the first Generation rather than after editing.
Why AI Product Photos Look Fake
Realism is not a single quality knob. It is a stack of independent layers, and any one of them can betray the image. Source quality, product fidelity, lighting match, contact shadow, depth of field, material rendering, model identity, prompt-induced tells, scene-category fit, and output specs each have their own physics, their own failure mode, and their own fix. A viewer rarely says "the depth of field is wrong for a flat-lay." They say "this looks off." The job of the checklist below is to give that vague reaction a name.
The reaction is also getting sharper over time. A 2025 Frontiers in AI perception study found that as base-model fidelity has improved, viewers have become more sensitive to micro-tells, not less. Participants described overly smooth materials, oversaturated colors, and too-even spacing as an "uncanny valley vibe" without being able to point to one specific defect. Each tell is small. Together they are obvious.
Most "make AI photos look real" content treats this as a prompt problem. It is not. Prompts cannot fix a 1024 pixel source, a hallucinated logo, a missing contact shadow, or a mismatch between the channel's required resolution and what the model produced. The fixes live in different layers of the workflow. A checklist matches that shape. Nightjar is one example of a system designed around the same variables this checklist names, but the checklist itself is tool-agnostic.
AI product photos look fake when one or more independent layers of the image fail: source quality, product fidelity, lighting match, contact shadow, depth of field, material rendering, model identity, prompt-induced tells, scene-category fit, or output specs. Each layer has its own detection cue at 100% zoom and its own fix at the source.
For brands more focused on lift than diagnostics, our tips for higher-converting AI product photos is the companion piece. Realism is the prerequisite for any of those tactics to work.
The 10-Point Realism Checklist
- Start from a clean, high-resolution source image.
- Lock the product's shape, logo, and label.
- Match the lighting between product and scene.
- Ground the product with a real contact shadow.
- Use depth of field that matches the product scale.
- Render materials as themselves, not as plastic.
- Avoid the uncanny valley on hands, faces, and fingers.
- Audit prompt-induced tells.
- Match the scene to the product's category, not the prompt's mood.
- Output at the resolution and format the channel expects.
Each item below follows the same shape: failure mode, diagnostic cue at 100% zoom, fix at the source, deeper-dive link.
Run These 10 Checks Before You Publish
1. Start from a clean, high-resolution source image
Failure mode. Garbage in, garbage out. A 1024 pixel JPEG with compression artifacts and harsh on-camera flash will preserve those artifacts in every Generation built on top of it.
Diagnose it. Open the source at 100% zoom. Long edge under 2000 pixels, visible JPEG blocking, or off white balance means stop here and re-prep before generating anything downstream.
Fix it at the source. Re-shoot the packshot under flat, even light, or run the existing source through Nightjar's Upscale Workflow to bring the Asset to 2K (2048 pixels) or 4K (4096 pixels) on the long edge before it is used as input. Upscale is preservation-first, designed to add resolution without changing the product. Store the upscaled Asset in the Library for reuse. Amazon recommends 2000 pixels or more on the longest side to enable zoom, and Shopify's recommended ceiling is 2048 by 2048, so 2K is the floor for either channel.
Go deeper. How to make AI product photos look more professional.
2. Lock the product's shape, logo, and label
Failure mode. Hallucinated geometry, warped logos, drifted labels. A perfume bottle prompted with "explosion of flowers" can have flowers bleed into the glass and change the silhouette. Cap proportions shift. Stitching disappears. The image is beautiful and the product is no longer the product.
Diagnose it. Overlay the generated image against the source at 100% zoom. Check the logo, label text, stitching, seams, zippers, and outer silhouette. Pixel-faithful or drifted?
Fix it at the source. Use a tool that treats product preservation as a first-class design priority, not a post-hoc filter. There is a real distinction between tools that generate a new image from yours (high drift risk) and tools that anchor your real product Asset and build the scene around it (low drift risk). Nightjar's Product Listing Image Workflow is built on the second pattern; the product Asset is anchored, and Photography Styles, Compositions, and Backgrounds compose the world around it. Nightjar is designed to preserve product shape, text, labels, and structure across Generations rather than reinterpret them.
Go deeper. How to prevent AI from altering the product's shape when generating a new scene.
3. Match the lighting between product and scene
Failure mode. A studio-lit product dropped onto a sunset scene. The direction and color temperature of the highlight on the product disagree with the brightest light source in the background.
Diagnose it. Trace the brightest highlight on the product. Trace the brightest light source in the scene. Same side? Same warmth? If not, the brain flags the image as fake before the viewer can name why.
Fix it at the source. Pick a Photography Style whose lighting matches the scene. Nightjar ships 150+ curated Photography Styles (Golden Hour, Window Light, Soft Sun, and many others) that encode how the light source would actually hit the product. A custom Photography Style can also be extracted from a reference photo, which makes the lighting language portable across SKUs in a catalog. The rule of thumb from the prompt-mistakes guidance: if the product was shot with soft light, do not ask for a hard sunlight background. The shadows will not match, and the brain will flag it as fake.
Go deeper. How to make AI product photos look like they were taken under natural sunlight.
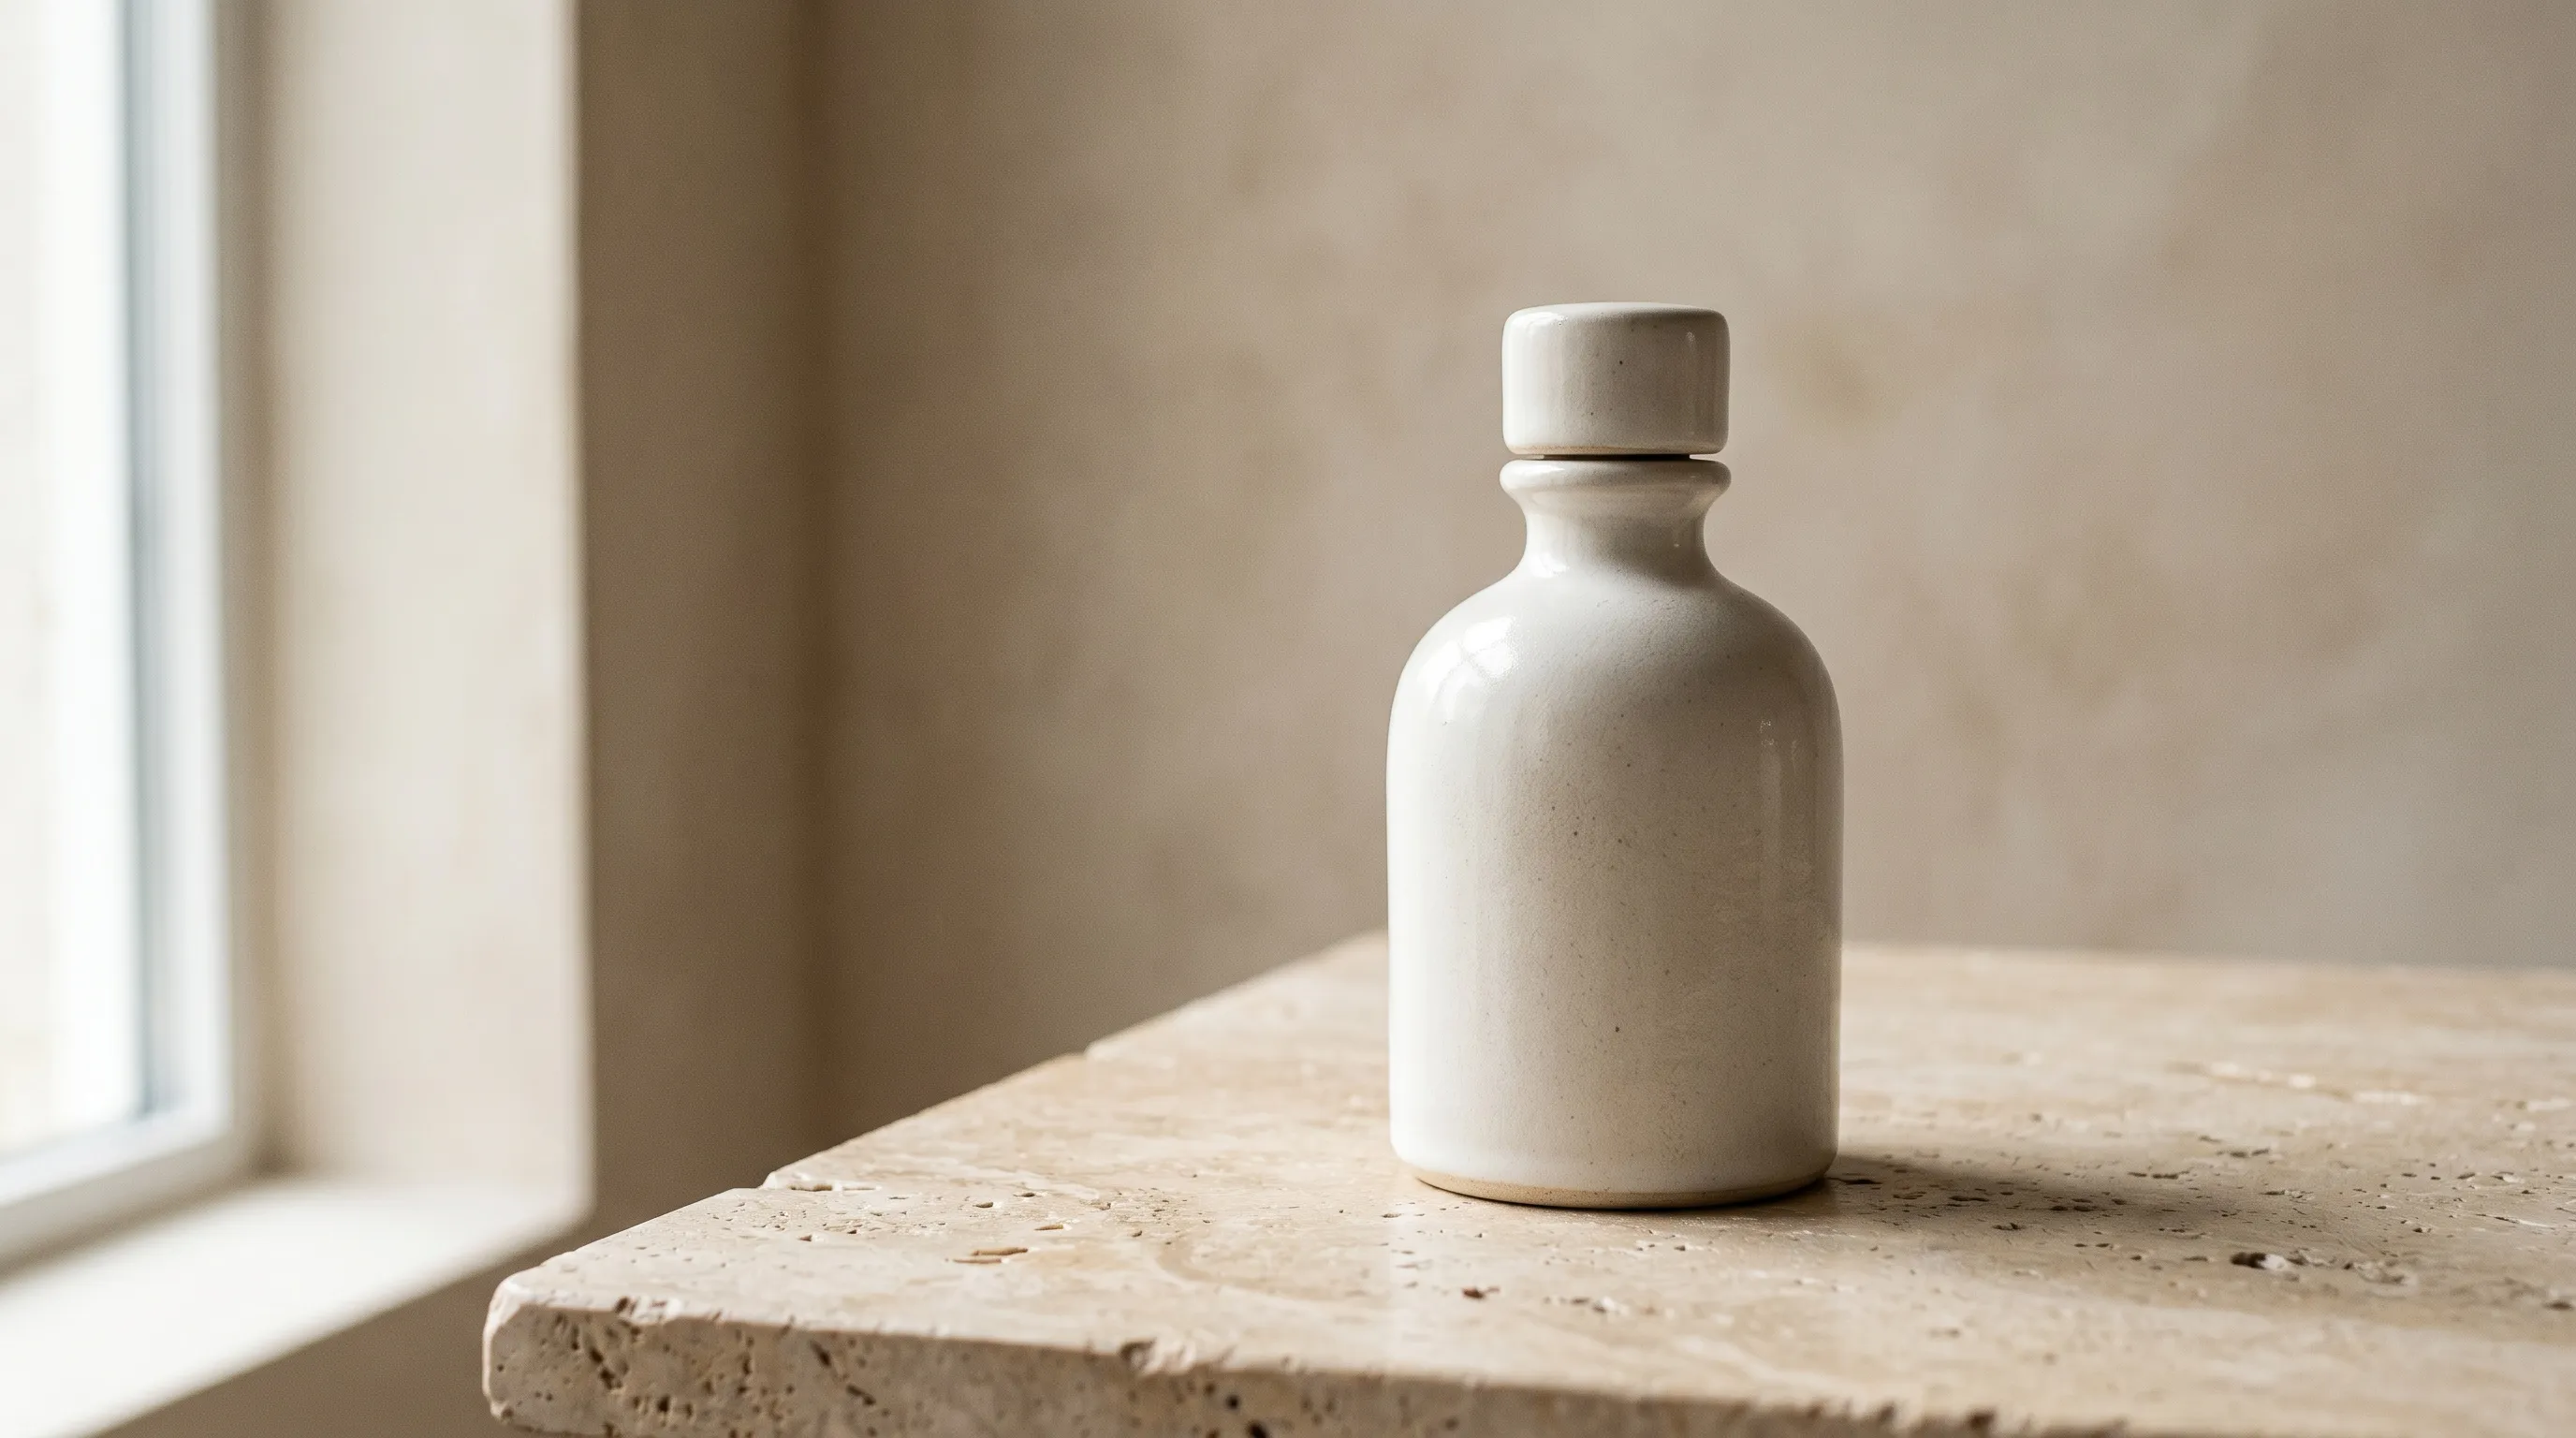
4. Ground the product with a real contact shadow
Failure mode. A floating product. The contact shadow (the tight, dark line directly under where the product touches the surface, produced by ambient occlusion) is missing, blurry, or pointing the wrong way.
Diagnose it. Trace the line where the product meets the surface. Look for a soft, directional shadow that anchors it. If the shadow is absent or disagrees with the scene's light direction, the product reads as pasted in.
Fix it at the source. Compositions control product placement and surface contact. Photography Styles control shadow softness and direction. Custom Directions can layer specifics on top, such as "soft contact shadow, light from upper left." Avoid the workflow of generating a product cutout and pasting it onto a separately-generated scene; that pipeline is the single biggest cause of contact-shadow failures. As ImageWorkIndia notes, "AI image generators notoriously struggle with physics-based lighting, specifically ambient occlusion and accurate contact shadows."
Go deeper. Common prompt mistakes that make AI product photos look fake. For the Photoshop angle, see removing and adding shadows in product images.
5. Use depth of field that matches the product scale
Failure mode. Uniformly sharp full-frame focus on a small ring (it should have shallow depth of field). Or uniform shallow blur on a flat-lay (it should be deep depth of field). The depth of field does not match the implied lens-and-distance combination for the product scale.
Diagnose it. Identify the product. Small jewelry needs shallow depth of field, sharp on the gem, soft falloff in front and behind. Lifestyle imagery wants mid depth of field. Flat-lay or catalog grids want deep depth of field with everything sharp.
Fix it at the source. Compositions encode framing, crop, and product placement, which together imply lens-and-distance choice. Use close-up Compositions for small SKUs (filter Nightjar's Composition library by category: jewelry, hand-sized objects, eyewear). Use wider Compositions for lifestyle. Push the depth-of-field intent into the Composition rather than into adjective stacks like "shallow depth of field cinematic bokeh." Depth-of-field choice depends on object length and depth, available light, shooting distance, and lens type, as WhiteWall's photography guide lays out, and a Composition is the structured place for those decisions.
Go deeper. Using negative prompts to avoid common AI product photography errors covers depth-of-field-adjacent quality terms as exclusions.
6. Render materials as themselves, not as plastic
Failure mode. Leather looks like vinyl. Knit looks painted. Plaid is a soup of jagged lines. Glass and transparent packaging come out opaque. Fabric weave looks airbrushed.
Diagnose it. Zoom to 100% on weave, grain, refraction, and edge-light. Try to count threads in a knit. Look for grain in leather. Check whether light passes through transparent material the way it should.
Fix it at the source. Three layered fixes. First, never let the model generate the pattern from scratch. Upload the real garment so product preservation holds the pattern on the surface. Second, upscale to 4K to clarify pattern lines. Third, choose a Photography Style with side lighting (Editorial or Styled categories work well) so micro-shadows surface the weave instead of flattening it. Pattern distortion is fundamentally a UV-mapping problem. The model treats a 2D pattern as surface noise rather than fabric wrapping a 3D body, which is why the pattern itself must come from a real source Asset. For transparent or liquid-filled products, expect more iteration; the underlying physics is harder for current models.
Go deeper. Why complex patterns like plaid get distorted on AI models, and how to fix it.
7. Avoid the uncanny valley on hands, faces, and fingers
Failure mode. Extra fingers, melted ears, dead eyes, plastic skin, identity drift between Generations.
Diagnose it. Zoom on hands, eyes, ears, and jewelry contact points. Count fingers. Look at the catchlight in the eyes. Look at where rings, watches, eyewear, and earrings meet skin.
Fix it at the source. Reuse a Fashion Model. Nightjar ships 80+ pre-built Fashion Models, plus the ability to create a custom Fashion Model from 1 to 5 source Assets with name, age range, and gender metadata. The same Fashion Model recurs across product imagery, which helps reduce identity drift between shoots. A second, simpler tactic: pick Compositions where hands are partly hidden (in pockets, holding a coffee cup, behind the product), reducing the surface area where a hand can go wrong. Diffusion models struggle with hands because of articulation complexity averaged across training data.
Go deeper. Fixing the uncanny valley effect in AI fashion model hands and faces.
8. Audit prompt-induced tells
Failure mode. Glossy oversaturated colors. "8K cinematic" gloss. "Unreal Engine" plastic finish. Generic studio backdrop. Conflicting adjective stacks. The image carries the fingerprints of a prompt that was trying too hard.
Diagnose it. Read the image as a viewer who suspects AI. What is the first thing that tells you it is AI? The skin? The color? The lighting evenness? The background generic-ness? Whatever you notice first is the prompt-induced tell.
Fix it at the source. Drop ornament words ("8K," "cinematic," "masterpiece," "Unreal Engine"). Push the variables into ingredients instead. Photography Styles carry the photographic language. Compositions carry framing. Fashion Models carry identity. Custom Directions only refine. Word salad like "Amazing shoes, cool background, 8k, Unreal Engine, cinematic lighting" produces chaotic, mismatched results because each adjective pulls the model in a different direction. Negative prompts can help, but they are fragile: a slight change in the positive prompt can override them.
Go deeper. Common prompt mistakes that make AI product photos look fake and using negative prompts to avoid common errors.
9. Match the scene to the product's category, not the prompt's mood
Failure mode. Skincare in a forest. Sneakers on marble. A kitchen knife in a hotel room. The scene is plausible in isolation but does not match category convention.
Diagnose it. Ask: would a real brand in this category shoot the product in this scene? If yes, ship. If no, decide whether the deviation is editorial (deliberate) or accidental (the prompt's mood took over the brief).
Fix it at the source. Filter Compositions by product category: apparel, footwear, jewelry, bags, headwear, eyewear, beauty, hand-sized objects, arm-sized objects. Use Backgrounds to pick a solid color or a specific scene Asset rather than letting "vibey adjectives" generate a random environment. Anchor scene choice in category convention. Break it only when the deviation is deliberate.
Go deeper. AI product placement in scenes compares the three placement approaches in detail.
10. Output at the resolution and format the channel expects
Failure mode. A 1024 pixel image on a 4K PDP zoom. An sRGB-mangled hex on a brand color. A 16:9 image cropped into a 1:1 marketplace tile.
Diagnose it. Identify the channel: Amazon main image, Shopify PDP, Instagram feed, Story. Compare long-edge pixel count, aspect ratio, and color values against the channel's published spec.
Fix it at the source. Generate at the channel's expected resolution from the start. Nightjar exposes 1K, 2K, and 4K Generation, JPEG, PNG, and WebP output, and 11 aspect ratios (Default, 1:1, 4:3, 3:2, 2:3, 5:4, 4:5, 3:4, 16:9, 9:16, 21:9). Save the channel-spec stack as a Recipe so a Shopify-spec setup is one click on the next product. Use the editor's /color, /ratio, and /format commands to lock specs without rewriting the brief. Amazon's published guidance is 1000 pixels minimum on the longest side, 2000 pixels or more for zoom, 85% frame coverage, JPEG/PNG/TIFF/non-animated GIF accepted, 10 MB max. Shopify recommends 2048 by 2048 pixels, with zoom enabled above 800 by 800 pixels, and a 5000 by 5000 / 20 MB upload ceiling. Generate to those numbers, do not crop down to them.
Go deeper. Amazon and Shopify's official image guidance above, plus the professional AI product photo guide for the broader workflow.
How These Failure Modes Map to AI Photography Approaches
Different categories of tools own different parts of the realism stack. None of them are universally "best." The honest comparison is which approach matches which use case.
| Approach | What it owns | Where it breaks on the realism stack |
|---|---|---|
| Generic text-to-image (Midjourney, DALL-E) | Beautiful one-off images, broad creative range | Concept bleed (item 2), identity drift (item 7), prompt-induced tells (item 8) |
| Prompt-engineering listicles | Cheap, fast, low setup cost | Items 3, 4, 5, and 9 are not prompt problems; the advice goes stale on every model update |
| Background-removal-plus-scene tools (Photoroom, Pebblely, Claid) | Clean source handling (item 1) and quick scene swaps | Floating products (item 4), mismatched lighting between cutout and scene (item 3) |
| Manual Photoshop fixes | The most control on shadow, color, and material | 5 to 10 minutes per image; does not scale across a catalog |
| System approach (Nightjar) | Reusable Photography Styles, Compositions, Fashion Models, and Recipes; product preservation as a first-class design priority | Designed to pass items 2, 3, 7, and 10 on the first Generation; less of a fit for one-off creative art |
Generic models still win for one-off creative range. Photoshop still wins when one image needs surgical control on a single shadow, color, or material edge. A system approach wins when the unit of analysis is a catalog rather than a single image, because the same Photography Style, Composition, and Fashion Model can be reused on the next 50 SKUs without re-briefing.
From One Image That Looks Real to a Catalog That Does
Every item on this checklist is a variable the user could not pin: lighting, pose, identity, geometry, shadow, scale, output spec. Realism failures are control failures. Once a Generation passes the checklist, the question changes. How does the next Generation pass it without redoing the work?
That is the bridge from realism to consistency. Passing the checklist once is a tactical win. Passing it on the next 50 SKUs is the strategic one. In Nightjar, that strategic move is a Recipe: the Photography Style, Composition, Fashion Model, Background, Custom Directions, aspect ratio, resolution, and output format that produced a passing image, saved together and applied to the next product.
A passing realism checklist is a per-image win. A reusable production setup is a per-catalog win. In Nightjar, that setup is a Recipe: the Photography Style, Composition, Fashion Model, Background, Custom Directions, and output specs that produced a passing image, saved and applied to the next SKU in one click.
For the catalog-wide treatment, our consistency guide is the next read. Realism is per-image. Consistency is across-images. Both matter, and they compound.
Frequently Asked Questions
Why do AI product photos look fake? They look fake because realism is a stack of independently-failing layers, not one quality knob. A single image can fail on source quality, product fidelity, lighting match, contact shadow, depth of field, material rendering, model identity, prompt-induced tells, scene-category fit, or output specs. Most "looks fake" reactions come from the viewer noticing one of these layers without being able to name it.
How do I make AI-generated product images look more realistic? Run the image through a layer-by-layer checklist before publishing. Start with the source resolution, then check the product silhouette, then the lighting match, then the contact shadow, then depth of field, then material rendering, then any model anatomy, then prompt-induced tells, then scene fit, then output specs. Fix at the source rather than in post-production where possible.
What makes an AI product photo look professional vs. amateur? Three things separate them: product fidelity (the silhouette, logo, and label match the real product), lighting coherence (the highlight on the product agrees with the light source in the scene), and a real contact shadow (the product is anchored to the surface, not floating above it). Professional AI product photos pass all three. Amateur ones usually fail at least one.
How do I keep my product looking the same in an AI image? Use a tool that treats product preservation as a first-class design priority rather than a post-hoc filter. The mechanism that matters is whether the tool generates a new image based on yours (high drift risk) or anchors your real product Asset and builds the scene around it (low drift risk). Nightjar's Product Listing Image Workflow is built on the second pattern.
Why do shadows in AI photos look wrong? AI image generators struggle with physics-based lighting, specifically ambient occlusion and accurate contact shadows. The result is floating products, mismatched shadow angles, and incorrect light falloff. The fix is to push shadow intent into a Photography Style and product placement into a Composition, rather than trying to specify shadows in adjectives in the prompt.
Are AI product photos good enough for Amazon and Shopify? Yes, when the output specs match the platform's published image guidance. Amazon's main image rules require pure white backgrounds at 1000 pixels minimum on the longest side, with 2000 pixels or more to enable zoom and 85% frame coverage. Shopify recommends 2048 by 2048 pixels and disables zoom below 800 by 800. Generate at the right resolution and format from the start, and save the spec as a Recipe.
How do I fix the uncanny valley effect on AI fashion models? Reuse a Fashion Model across shoots so identity does not float between Generations, and pick Compositions where hands are partly hidden (pockets, holding a coffee cup, behind a product). Diffusion models struggle most with hands because of articulation complexity averaged across training data, so reducing the surface area where hands are fully visible reduces the chance of an anatomical error.
Can AI photography produce a realistic depth of field or bokeh? Yes, when the depth-of-field intent is encoded in the Composition (close-up for small products, wide for lifestyle, deep for flat-lay) rather than in adjective stacks like "shallow depth of field cinematic bokeh." Pushing the variable into a structured ingredient gives more reliable depth-of-field behavior than prompt-stuffing.
How do I get realistic reflections, fabric, or transparent packaging out of AI? For patterned fabric and complex weaves, do not generate the pattern. Upload the real garment, let product preservation hold the pattern, upscale to 4K, and use a side-lit Photography Style to surface micro-shadows. For transparent and liquid-filled products, expect more iteration. The underlying physics is harder for current models, and careful review is part of the workflow.
References
- Nightjar - AI product photography system
- Frontiers in AI 2025 perception study - peer-reviewed evidence on micro-tells in AI imagery
- Amazon 2026 image requirements (Seller Labs) - main image rules and resolution thresholds
- Shopify image sizes (Photoroom) - recommended dimensions and zoom thresholds
- ImageWorkIndia - AI shadow mismatch - ambient occlusion in AI imagery
- WhiteWall - depth of field basics - photography fundamentals