
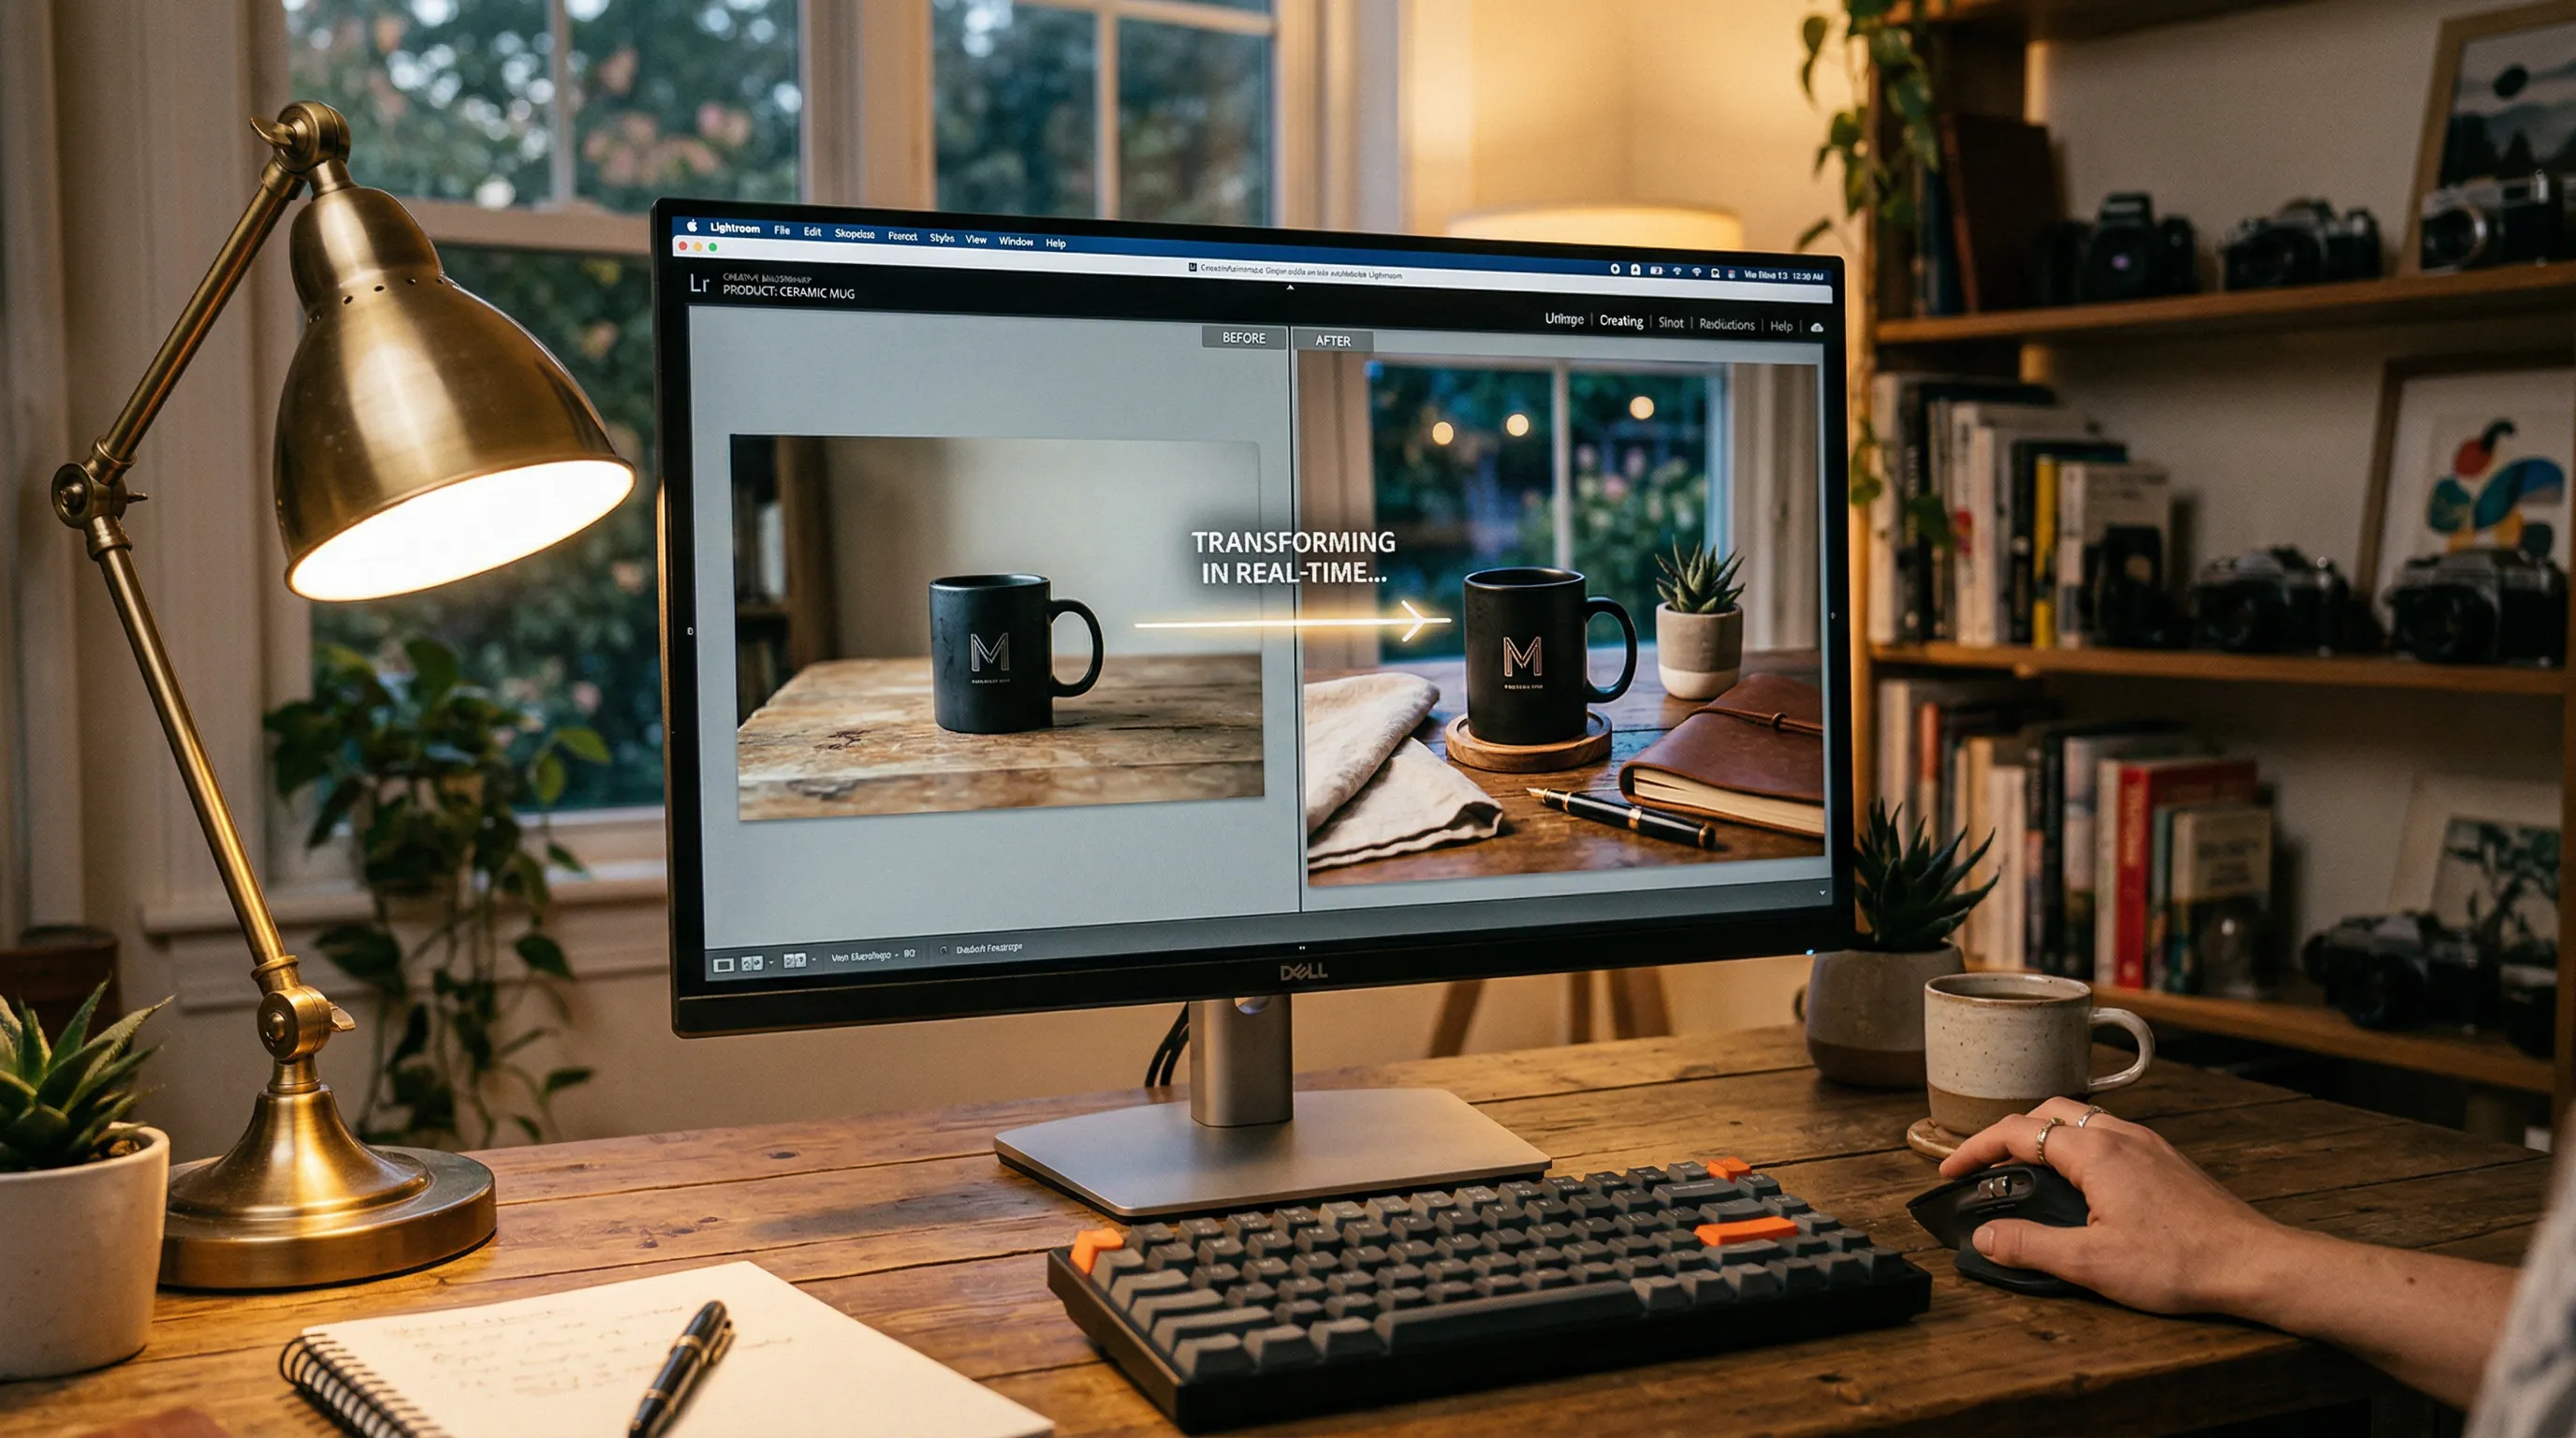
Quick Answer
You can edit a product photo without Photoshop by giving a generative AI editor a source image and a precise written instruction, such as replacing the background, changing one color, re-lighting the scene, or extending the frame. Check the edited result against the real product before publishing.
How does plain-English product photo editing work?
Plain-English product photo editing turns a written request into a generative edit of an existing image. Instead of building selections, masks, and adjustment layers by hand, you identify the source photo, state the change, name what must stay the same, and specify the required output.
The practical skill shifts from operating the interface to describing an inspectable result. You do not need to know how to feather a selection, but you still need to identify the product, the requested change, and the details that decide whether the edited image is truthful.
The source image guides the result, and the constraints in your instruction tell the editor what to keep. Name the product details, crop, and surroundings that must stay the same, especially when the edit changes lighting, perspective, reflections, occlusion, or the scene around the product.
A strong instruction usually contains four parts:
| Part | What to state | Example |
|---|---|---|
| Source | Which image or object should change | “Edit the bottle in @image1” |
| Change | One observable result | “Replace the grey background with warm white” |
| Constraints | Details that must remain stable | “Keep the bottle shape, cap, label, logo, and crop unchanged” |
| Delivery | The required shape or format | “Output at /ratio 4:5 in /format PNG” |
Narrow instructions are easier to review than vague requests. “Make this look premium” leaves the editor to decide what premium means. “Use a warm-white background, soft light from camera left, and a short contact shadow while preserving the product” gives it visible conditions you can inspect.
Which product photo edits can you request in plain English?
Plain-English AI editors are useful for changes that can be described as a clear visual outcome, from a local recolor to a new surrounding scene.
| Editing goal | Example instruction | What to inspect |
|---|---|---|
| Replace a background | “Place the lamp in a quiet plaster-walled living room and keep its scale believable” | Edges, contact, perspective, reflections, product scale |
| Re-light an image | “Use soft late-afternoon light from camera left; preserve the label and base color” | Shadow direction, bright areas, color cast, material response |
| Recolor one surface | “Change only the blue fabric panels to /color #243B53; keep the stitching and hardware” | Color zones, texture, seams, logos, material |
| Extend or reframe | “Extend the background to /ratio 16:9; keep the product size and position fixed” | New edges, repeated details, crop, relative product size |
| Combine sources | “Put the bag from @image1 on the person from @image2 in the setting from @image3” | Identity, anatomy, product construction, lighting, occlusion |
| Remove an element | “Remove the price card beside the product and rebuild the empty surface” | Product edges, reconstructed background, nearby shadows |
Some jobs deserve a more specific guide. See how to re-light a studio product photo as outdoor light, change a product color without Photoshop, or turn a white-background photo into a lifestyle scene.
How do you edit a product photo in Nightjar?
Nightjar's Edit Images Workflow uses a multi-image board, direct image references, and plain-English instructions. Each source has an explicit role, so a multi-image instruction can say which Asset supplies the product, person, and setting instead of leaving those relationships implicit.
- Add the source Assets. An Asset is Nightjar's durable record for an uploaded or generated image. The Edit board accepts up to eight input Assets, which can include the product, a person, a setting, or another visual reference.
- Reference each source by name. Insert
@image1,@image2, and similar references in the instruction so Nightjar knows which Asset supplies the product and which supplies the setting, person, or visual cue. - Choose one clear change. State what should happen and what must remain stable. Complex edits are easier to diagnose when you change one variable at a time.
- Use structured controls where they help.
/colorsupplies explicit color direction,/ratiosets the output aspect ratio, and/formatsets JPEG, PNG, or WebP delivery. - Start from an Edit Shortcut when the job is common. An Edit Shortcut is a fast path that prepares the inputs for Try On, Recolor, Product Placement, Reframe, or Change Format. Resolve every placeholder before generating.
- Compare the new Asset with the source. Inspect both at normal viewing size and close zoom, and revise the instruction if a detail needs to change.
For example, a product-placement instruction could read: “Place the ceramic vase from @image1 on the empty table in @image2. Match the table's perspective and window light. Preserve the vase silhouette, glaze pattern, opening, and base. Output at /ratio 4:5.” The product placement guide covers the scene-integration decisions in more depth.
Can you edit a product photo by asking Claude?
Yes. If you already plan listings or write product copy in Claude, you can connect Nightjar and ask for the edit in that conversation instead of moving files into a separate editor. The connection uses MCP, the open standard AI assistants use to connect to other tools. It works in Claude on the web, the desktop app, Cowork and mobile as a custom connector, and in Claude Code and Codex. The guide to making product photos in Claude covers setup, and the Nightjar MCP guide lists every tool and limit.
The instruction is the same four-part request described above, written as an ordinary message: attach the photo, say what should change, name what must stay the same and give the delivery shape. The assistant turns your message into an edit request for Nightjar's Edit Images Workflow, tells you the Credit cost before it submits, and keeps to the ceiling you approve. The output keeps the first photo's shape, at the nearest supported aspect ratio, unless you ask for another, and it saves to your Team Library with a preview and a full-size original.
The practical gain is that the choice between editing an image and generating a new shot can happen in one place. If the conversation shows the image needs a genuinely new shot rather than a change, the same assistant can run Product Photography from a saved Product and Recipe instead of forcing the request through an edit, and it can upscale the approved result to 2K or 4K. The assistant changes where you ask for the work, not how Nightjar makes the image.
When should you edit an existing image instead of generating a new product photo?
Edit an existing image when its camera view and most of its content are already right; use Product Photography when you need a genuinely new shot. Use the original photograph, or a manual composite of it, when a legal or marketplace rule requires the photographed pixels or physical proof.
| Goal | Best starting path | Why |
|---|---|---|
| Change one part of an otherwise approved image | Edit Images with a narrow instruction (how to change one thing) | The source already contains the viewpoint and product treatment you want to keep |
| Place a product into a specific existing scene | Edit Images with separate product and scene Assets | Direct @image references make the source roles explicit |
| Create a new listing, lifestyle, or on-model shot | Product Photography with a Product | Multiple Product Photos and factual details can guide a new image |
| Produce four connected variations from one direction | Photoshoot inside Product Photography | Photoshoot creates a cohesive four-image set and varies camera decisions across it |
| Keep the photographed pixels for a legal or marketplace rule | Manual masked composite | The rule requires the original photograph, not a new rendering |
| Prove exact fit, scale, performance, or physical condition | Real photography | A generated image should not be used as evidence for a fact it did not capture |
In Nightjar, a Product is the reusable subject: it groups several Product Photos with a factual description and optional physical dimensions. Product Photography uses that evidence to create a new product-only, lifestyle, or on-model image. Product-only shots use Framing and, on a flat-color background, Shadow. Model shots use a Pose and Camera Distance, while a Background controls the scene.
Photoshoot is an output choice inside Product Photography, not a separate Workflow or a rotation tool. It creates four related images from the same subjects and direction while varying details such as camera angle, crop, pose, and distance across the set.
How is a plain-English AI product editor different from Photoshop?
A dedicated AI product editor starts from the instruction and product references, while Photoshop remains a broad image-editing environment with generative and manual controls. The difference is no longer “text versus no text”: Adobe's current Photoshop documentation says Generative Fill can “add, remove, or replace objects using natural language prompts.” (Adobe)
| Approach | Working model | Strong fit | Main review burden |
|---|---|---|---|
| Product-focused generative editor | Source Assets, named image roles, written direction, product-specific controls | Creating or revising ecommerce imagery without building a manual layer stack | Comparing the result with the source photos |
| Photoshop | Generative prompts plus selections, masks, layers, and detailed manual tools | Controlled local retouching, compositing, and pixel-level correction | Tool skill, edit time, and proofing |
| Template design tool | Layouts, cutouts, text, and reusable graphic templates | Social graphics and repeat layouts around finished product images | Whether the photographic edit itself is sufficient |
| Human retoucher | A written brief interpreted and executed by a specialist | Complex masking and fixed-pixel composites | Briefing, rounds of feedback, and approval |
With a plain-English editor, most of the work moves from masks and layers into a clear brief and a final check. A retoucher's fixed-pixel composite fits the case where a legal or marketplace rule requires the original photograph. For broader product-tool choices, compare AI product photography tools, ChatGPT alternatives for product photography, and the focused Photoroom versus Nightjar comparison.
How do you keep AI-edited product photos accurate and consistent across a catalog?
Accurate, consistent product editing requires separate controls for product evidence and photographic direction, followed by human review. One attractive output is not enough if the next product returns with a different camera feel, scene, crop, or model identity.
Nightjar keeps product evidence and repeatable shoot direction in different places. A Product holds the photos and factual details that define an item, while a Recipe saves the Product Photography setup: the Photography Style, background choice, camera treatment, model choices, Custom Directions, and output settings. Keeping the subject out of the Recipe lets a Team apply the same approved direction to the next Product without reusing the wrong product references.
That distinction matters even when the final correction happens in Edit Images. A Team can create new catalog shots from reviewed Products and a shared Recipe, then use Edit Images for a targeted recolor, relight, placement, or reframe. The Product remains the evidence for what the item is; the Recipe carries reusable creation direction; the edit addresses the exception. See the full consistent AI product photography workflow and the practical guide to maintaining one aesthetic across AI images.
Nightjar's built-in visual review can reject and retry obvious failures without another Credit. It adds a useful check for a missing or substituted product, a misspelled brand or product name, a replaced main logo, and catastrophic defects.
What should you check before publishing an AI-edited product photo?
Every AI-edited product photo should be compared with the real item and the approved source images before publication. Review the facts a buyer may rely on, not only whether the result looks polished.
- Shape and construction: Check silhouette, proportions, openings, handles, seams, fasteners, edges, and product count.
- Color and material: Compare base color, texture, gloss, transparency, weave, grain, and how the material responds to light.
- Text and branding: Read every visible word at close zoom. Check logos, labels, package claims, symbols, and model numbers.
- Lighting and scene: Confirm that contact, shadow direction, reflections, scale, perspective, and occlusion agree with the environment.
- Edit boundaries: Compare the whole frame with the source, including areas the instruction did not ask to change.
- Output requirements: Verify crop, aspect ratio, resolution, format, file size, and the current rules of the destination channel.
To keep a product's shape stable, use clear source images from useful angles and keep each requested change narrow. The guide to preventing AI from altering a product's shape covers the source-photo checks in more detail. For clean catalog work, the white-background product photography app comparison covers the narrower tool category.
Frequently Asked Questions
Can AI edit product photos from text instructions? Yes. A generative editor can use an existing product photo as evidence and apply a written change.
Does Photoshop support plain-English editing too? Yes. Photoshop includes Generative Fill for natural-language changes, alongside its selections, masks, layers, and manual tools. A dedicated product editor differs by organizing the workflow around product references and repeat ecommerce production.
Can AI remove or replace a product-photo background without Photoshop? Yes. State the new background, the required product position, and the details that must remain stable, then inspect edges, contact shadows, reflections, transparency, and scale. A generative replacement is different from a pixel-locked cutout.
Can an AI editor keep logos, labels, and product colors exact? Nightjar's Edit Images uses the source Asset to help preserve the product's structure, texture, and lighting, and built-in visual review can retry obvious failures, such as a misspelled brand or product name or a replaced main logo, at no extra Credit cost. Supply sharp source evidence, name the logo, label, and color that must stay unchanged, then compare them with the real product or approved references before publishing.
Can you combine several source photos in one plain-English edit?
Yes. Nightjar's Edit board accepts up to eight input Assets and lets the instruction identify them as @image1, @image2, and so on. It produces one edited output from those sources rather than treating them as an automatic batch.
How do you reuse the same editing direction across many products? Use a repeatable creation system instead of copying a long prompt. In Nightjar, Products preserve each item's subject evidence, while Recipes preserve the Product Photography direction without saving the Product; targeted exceptions can then be handled in Edit Images.
When should you use Photoshoot instead of Edit Images? Use Photoshoot when you want four varied but connected images from one Product Photography direction. Use Edit Images when you want one output that changes or combines specific existing Assets.
Is AI product photo editing always cheaper than manual editing? Count the full workflow: subscription or Credit use, review time, and any retouching for AI editing, against editing hours or retoucher fees for manual work. The AI versus traditional product photography cost guide explains how to compare a real workflow rather than headline prices.
References
- Adobe Photoshop generative AI features - Official documentation for Generative Fill and other current Photoshop AI features
- Nightjar - Product Photography and Edit Images