Why Reflections Are the Product, Not the Problem
If you have just shot a glossy bottle and seen the softbox staring back at you from the curve, or your own silhouette sitting in the chrome, or a perfume bottle that turned out clean and lifeless after you diffused everything to mush, you are not looking at a removal problem. You are looking at a control problem you have not framed correctly yet.
Most guides on how to photograph reflective products treat reflections as the enemy. They are not. A glossy product without reflections looks like a plastic toy. The specular gradient on a perfume bottle, the bright edge of a wine glass against a dark background, the long highlight running across a polished aluminum tube, those are not extras layered onto the photo. They are the photo.
Reflective product photography is a control problem in two parts: controlling what the surface is allowed to reflect, and controlling the shape of the highlight that remains. Removing reflections solves neither.
That distinction matters because resolution alone does nothing on a glossy product if the highlights are wrong. The harder problem, which the rest of the search results tend to avoid, is reproducing the same reflection logic across an entire catalog. Tools like Nightjar exist for that second problem, and we will return to it later.
The Two Control Problems Inside Every Reflective Shot
Every reflective product photography setup, no matter how complicated it looks on paper, is solving two problems in series.
Problem One. The Environment Being Reflected
A polished surface returns whatever sits inside its family of angles, the geometric zone where light bouncing off the surface points back into the lens. Visual Education puts it cleanly: "When light is sourced anywhere within this family of angles, it will reflect off of the surface being photographed and back into the lens."
Anything inside that zone shows up. Studio walls. The photographer. A ceiling light. A warm wood floor. A bright shirt. The first physical job is to control everything in that geometric region: light tents, blackout fabric, V-flats, blacked-out ceilings, sometimes a black-painted shooting room. The cost is a controlled studio environment per shoot.
Problem Two. The Shape of the Highlight That Remains
Even with a perfectly clean environment, the surface still needs reflections to read as glossy. The question is what those intentional reflections look like. Three levers shape the answer: the apparent size of the light source on the surface, the softness of its edge, and the brightness gradient across it.
Photography Artist describes the standard cleanly: "The hallmark of high-end product photography is often not the sharpness of the highlight, but the smoothness of its gradient, with a beautiful, long, and seamless transition from light to dark across a curved, glossy surface." Peer-reviewed work on visual perception confirms that specular highlights are how the viewer reads three-dimensional form on a curved surface in the first place.
Replica Surfaces frames the design half of this honestly: "Black cards positioned just outside the frame create what photographers call negative fill, essentially the absence of reflection, giving precise control over where shadows and highlights appear on your product." Negative fill is not a workaround. It is a design choice in the same vocabulary as the key light.
Once the two problems are separated, every other technique in reflective product photography slots cleanly into one bucket or the other.
Material-Specific Lighting Logic
Each glossy material has a different physical behavior. The recipe changes because the surface changes, not because the photographer changed their mind. Below is the working reference.
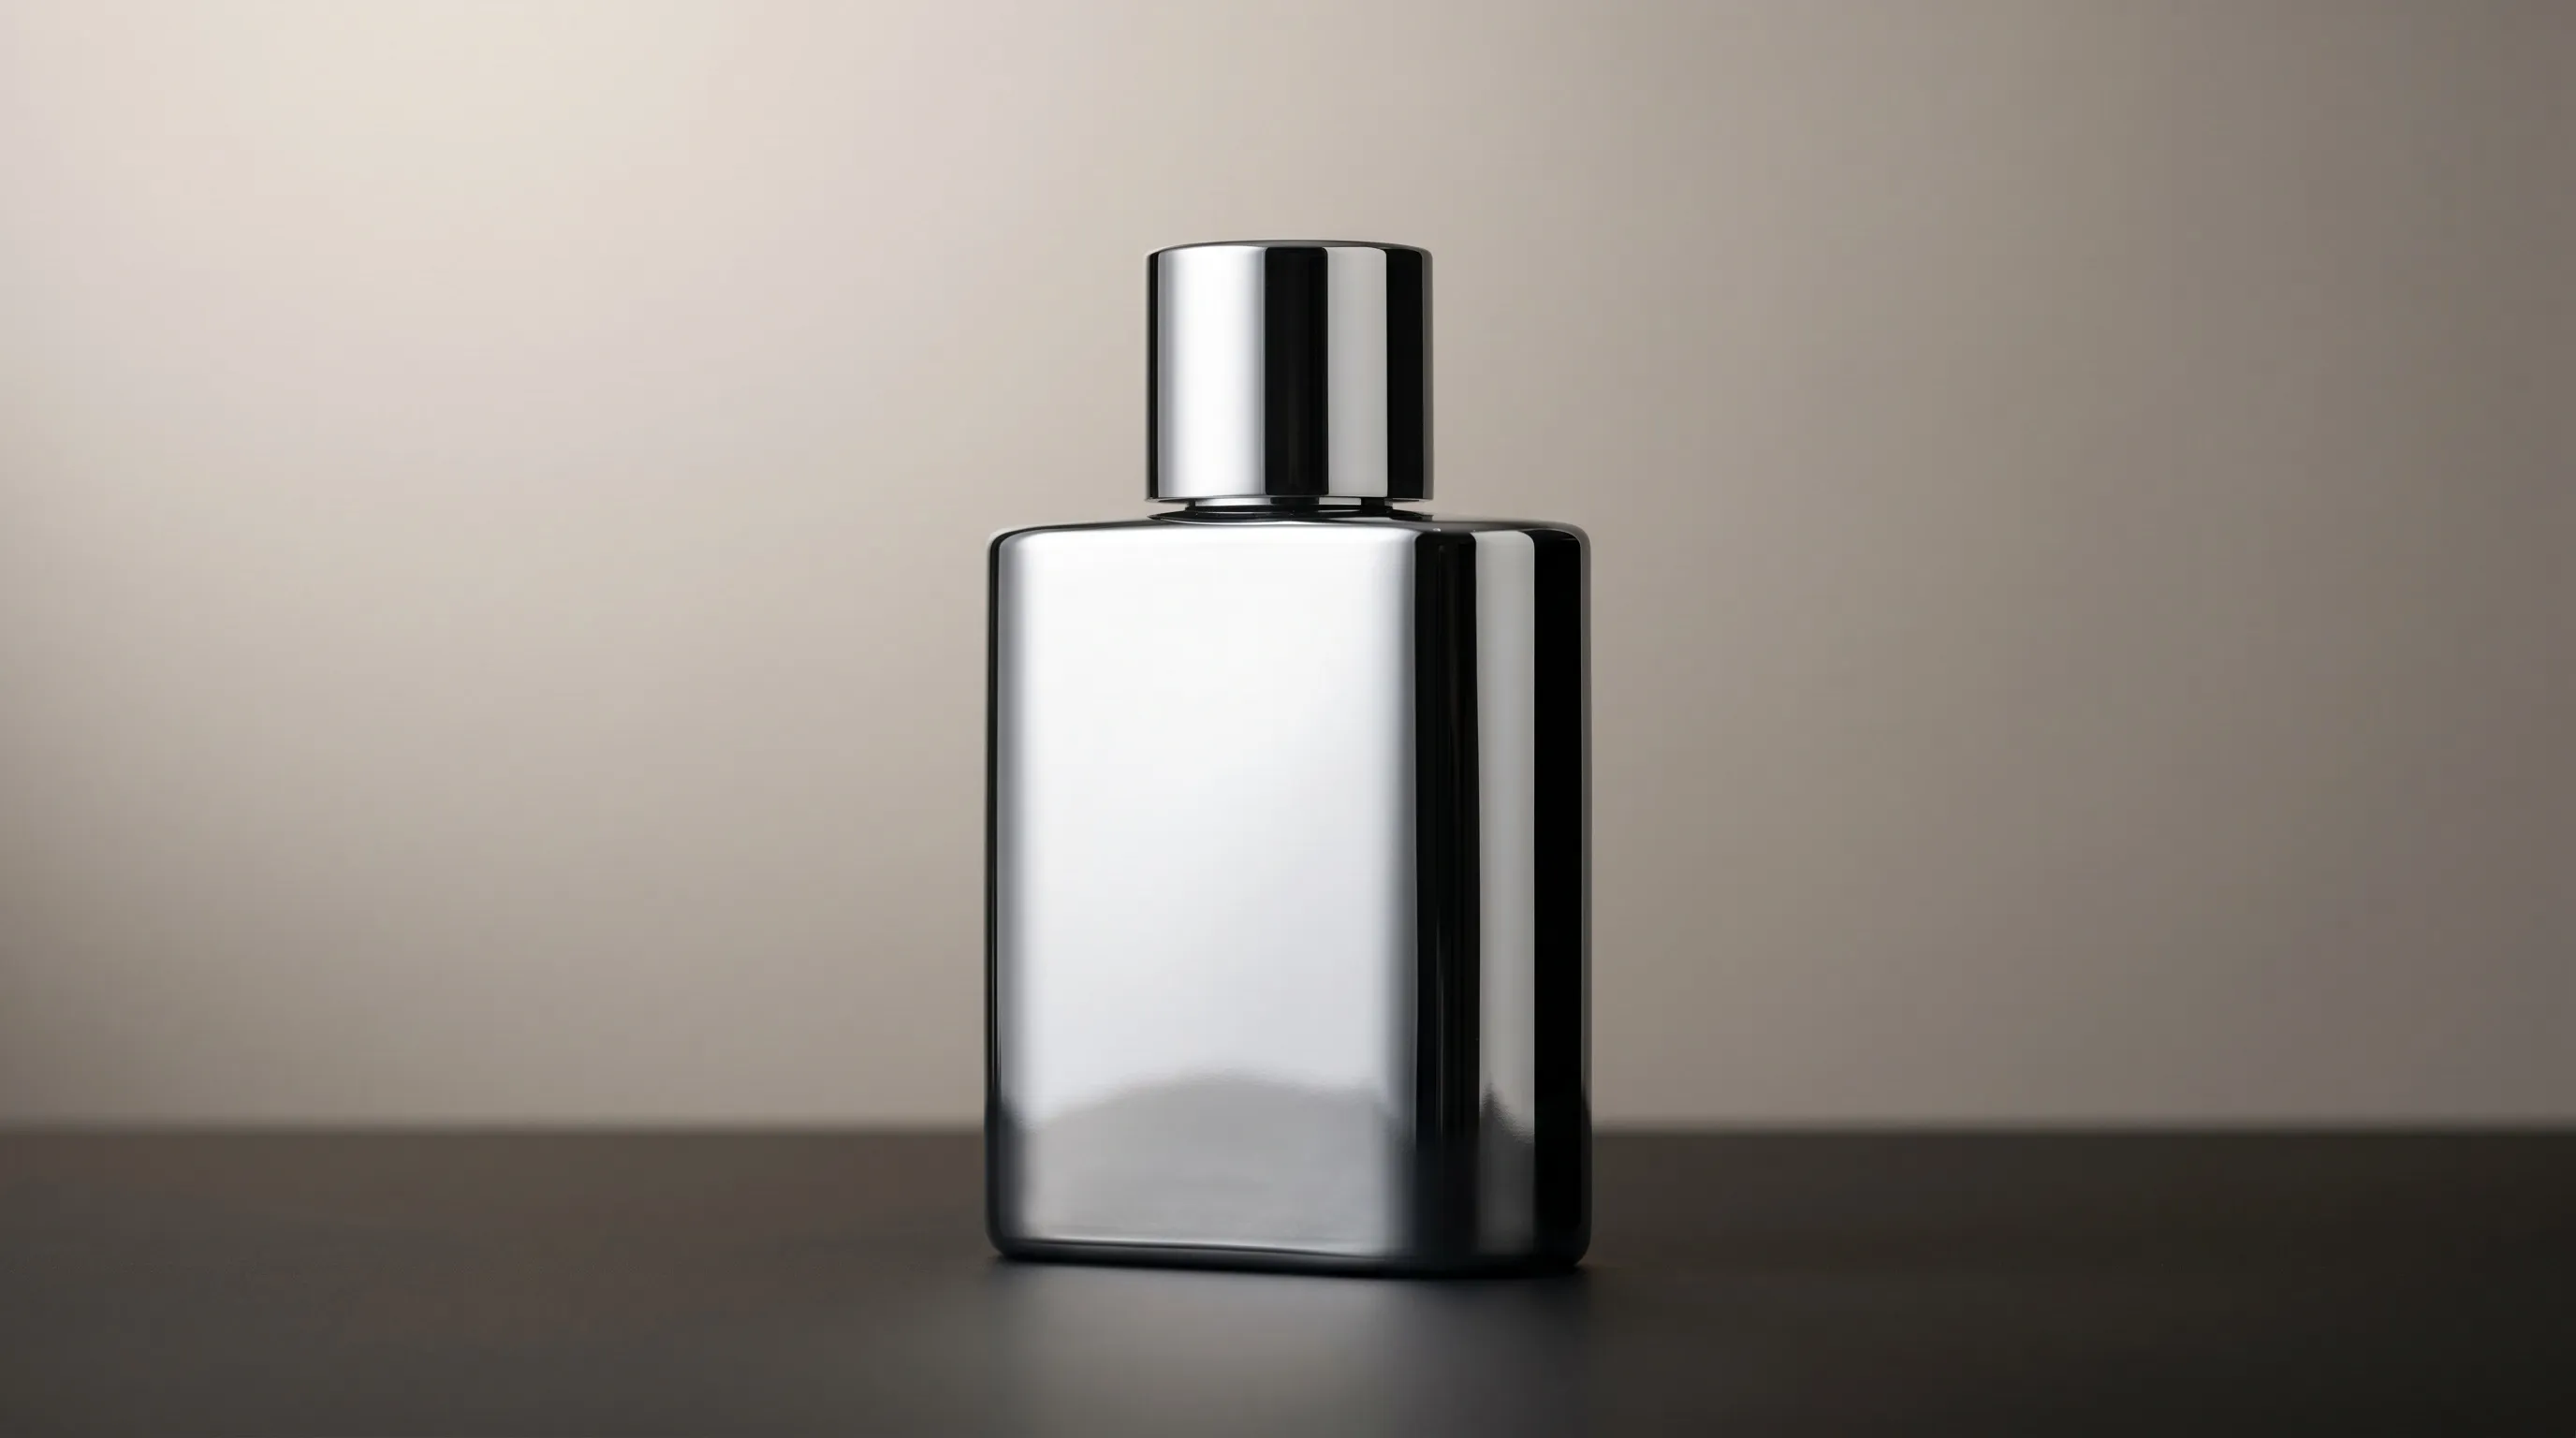
Polished Metal. Chrome, Polished Steel, Mirrored Brass
A polished metal surface is a mirror. It returns the entire family of angles back to the lens. The recipe is to fill that zone with one large soft white plane and let everything outside it go to controlled black. The result is a clean white-to-black gradient running across the curve, which is the visual signature of a well-shot chrome surface.
A polished metal surface lit by a small hard light will record as a blown specular hotspot surrounded by darkness. Replace the small light with a large soft plane and the highlight becomes a gradient.
Brushed Metal. Brushed Steel, Brushed Aluminum
Brushed metal has a directional grain that micro-scatters specular reflection along one axis. The recipe used for polished metal will flatten brushed metal into something that reads as painted plastic, because the streaked highlight along the grain is the texture cue. Position the key light perpendicular to the grain to maximize that streak.
Anodized Aluminum
Bright anodized aluminum behaves close to polished metal. Matte anodized, the soft satin surface used on a lot of premium electronics, behaves like a halfway state. It needs a hint of specular gradient or it reads as plastic. The lever is the apparent size and softness of the light source on the surface.
Clear Glass. Bottles, Glasses, Perfume
Clear glass is almost invisible without help. The two canonical strategies, both rooted in bright field versus dark field lighting from industrial imaging, each work by replacing the messy real environment with a pure two-tone treatment that lets the silhouette read.
Bright field. A lit white background with black flags either side of the glass, drawing a crisp dark contour around the body.
Dark field. A dark background with grazing backlight that reveals bright edges along the silhouette.
Mixed lighting muddies both, which is the most common amateur mistake on glass.
Frosted Glass
Frosted glass diffuses light internally. Backlight glows through the body rather than passing through cleanly, so the strategy is to backlight through a translucent surface so the glass becomes its own soft light source. Edges are then defined by light or dark flags depending on what the background is doing.
Brown and Amber Glass. Whiskey, Beer, Apothecary
Brown and amber glass selectively absorbs light. Under direct front lighting it reads as nearly black, which is why so many amateur whiskey shots look like silhouettes of a bottle rather than a bottle. Backlight to reveal color and contents, then add bright-edge or dark-edge accents for silhouette definition.
Faceted Crystal and Gemstones
Each facet behaves like an independent micro-mirror. Cross polarization reduces some surface flare while preserving internal fire, which Pro EDU describes as "key to reducing or eliminating unwanted highlights." Cleanliness is amplified at this scale. Every fingerprint and dust particle is recorded.
Lacquered Plastic. Cosmetics Packaging, Electronics
Lacquered plastic sits between polished metal and matte plastic. The specular highlight is broad and soft. Overlit lacquer reads as wet rather than glossy, so the recipe is a single large soft key with a smaller fill ratio than for metal, plus negative fill on the shadow side to keep edge definition.
Jewelry. Rings, Watches, Bracelets
Jewelry combines tiny specular metal with faceted stones at macro distances, where the entire surrounding room acts as the environment from the surface's point of view. Tom Crowl documents the working setup: light tents, cross polarization, negative fill flags, gloved handling. The standard is unforgiving.
| Material | Surface Behavior | Lighting Recipe | Common Failure |
|---|---|---|---|
| Polished metal | Returns entire room | Large soft plane fills family of angles, controlled black outside | Small hard light blows highlight |
| Brushed metal | Streaks along grain | Key light perpendicular to grain | Even diffusion flattens texture |
| Clear glass | Nearly invisible | Bright field or dark field | Mixed lighting muddies silhouette |
| Frosted glass | Internal diffusion | Backlight through translucent surface | Front lighting kills the glow |
| Brown glass | Selective absorption | Backlight plus edge accents | Front lighting reads near-black |
| Faceted crystal | Independent micro-mirrors | Cross polarization plus tent | Visible fingerprints, dust |
| Lacquered plastic | Broad soft highlight | Single large soft key, low fill ratio | Overlighting reads as wet |
| Jewelry | Macro specular plus stones | Light tent, negative fill, polarizer | Room reflections at macro scale |
The Physical Toolkit and What Each Tool Actually Does
The competing articles list the same gear without explaining why each item is in the kit. Each tool answers a single question: what fills the family of angles on this product.
A large diffused light source. Softness is not the goal in itself. The goal is filling the family of angles with a clean gradient rather than a hard edge.
A polarizing filter. Cuts non-metallic surface flare on glass, plastic, and stones. Cross polarization between a polarized light source and a polarized lens filter goes further. Pro EDU notes that done correctly it "adds a level of professionalism to your imagery and can save time and money in post-production." Polarizers do not eliminate metallic reflections, which still need physical light shaping.
White and black flags. Negative fill is its own design element, not a fix. The Wikipedia entry on negative fill holds the foundational definition: subtractive lighting used to deepen shadow side and define edges on a curved surface.
A white sweep. Removes the floor-wall seam from the family of angles, replacing two reflected surfaces with one continuous one.
Gloves, microfiber cloths, and a small amount of distilled water or vinegar solution for stubborn smudges. Picup Media documents fingerprint and dust as the leading mistake in jewelry photography. Glossy surfaces record everything the operator's hands leave behind.
Focus stacking. Necessary for jewelry and macro reflective work, where the depth of field at close range cannot cover the product in a single frame.
The Honest Cost Ceiling. When Physical Photography Stops Being the Right Tool
Per-image pricing on professional product photography sits in a known band. Squareshot's rates guide puts per-image rates for 11 to 50 image shoots at $25 to $70, with US mid-tier studios in the $40 to $60 range and additional overhead for complex retouching and rush delivery. Coordination, sample shipping, and studio rental sit on top of the quoted rate when they are not bundled.
Reflective product photography sits at the upper end of that band because of the additional setup and retouching overhead documented in the Pixelz reflective product workflow. A reflective SKU shot to professional standard generally lands in the upper half of the quoted range, with retouching adding more.
A worked example. A skincare brand with 120 glossy SKUs (clear glass droppers, lacquered plastic jars, anodized aluminum tubes) needs four listing angles per product, so 480 reflective images per quarter.
- Outsourced product photography at a $50 per image midpoint of the cited range: $24,000 per quarter, before retouching overhead and sample shipping.
- In-house studio at a generous 30 minutes per image with a $75 per hour photographer plus retouching and gear amortization, roughly $50 per image: $24,000 per quarter, plus the time cost of running the studio.
The numbers are real, but they are not the headline argument. The headline argument is reproducibility. A catalog of fifty reflective SKUs shot across six sessions will look like fifty unrelated products, because subtle drift in light position and softbox distance changes the highlight on every surface.
Listings with two product images convert at roughly twice the rate of listings with one, so the catalog-scale problem is a revenue problem, not a vanity problem.
| Approach | Per-image cost | Repeatability across 200 SKUs | Setup overhead |
|---|---|---|---|
| Outsourced studio | $25 to $70 quoted, plus retouching and coordination overhead | Low. Vendor-dependent drift | Sample shipping, briefing, revisions |
| In-house studio | Roughly $50 finished | Medium. Drift between sessions | Two softboxes, polarizer, sweep, light tent |
| Generalist AI tools (Midjourney, DALL-E) | $10 to $30 per month | Very low. No product anchoring | None, but reflections are invented |
| Nightjar with a reusable Recipe | Roughly one Credit per Generation | High. One Recipe applied catalog-wide | One-time Photography Style and Composition setup |
This is also why the honest answer to "should I buy a polarizer or shoot with AI" is not the same for every brand. A boutique with three hero products should buy the polarizer. A skincare brand with 120 SKUs and a quarterly refresh should not.
How Nightjar Encodes Reflection Control as a Reusable Ingredient
Physical reflective photography solves the lighting puzzle one product at a time. The catalog problem requires the puzzle to be solved once and then reused. That is a different shape of tool.
Nightjar approaches reflective product photography by anchoring on the real product and treating the lighting language as a reusable ingredient.
A Photography Style encodes the lighting language of a controlled reflective shoot, large soft key, gradient highlight, clean negative fill, no environmental reflection, and applies it across every glossy product in the catalog. A single well-shot reference is enough to define the Style.
A Composition locks framing and angle so the highlight falls in the same place across products of different shapes. A tall bottle and a short jar can share the same controlled gradient placement, which is the part of consistency that physical setups quietly fail at.
A Recipe saves the full setup, Photography Style plus Composition plus Background plus output settings plus Custom Directions, so a 200-SKU launch can apply the same direction once rather than briefing it two hundred separate times. The result is the same reflection logic across the whole catalog.
The Edit workflow handles environmental reflections in existing photos by rewriting the surface region rather than clone-stamping pixels, which tends to reduce the flattening that frequency separation typically introduces on a glossy gradient.
For Amazon, the official main image rules require pure white background (RGB 255,255,255), 85 percent product fill, and at least 1,000 pixels on the longest side, with explicit guidance to avoid reflections on glossy products. Nightjar's Product Listing Image workflow with a white Background and Upscale to 2K or 4K long edge is designed to produce output that lines up with those specifications, without a separate retouching pass to remove environmental reflections.
Nightjar starts from the real product Asset and applies a Photography Style that encodes a controlled reflection language. The reflection is rendered, but the product anchor is real, which is a different starting point than generalist AI image tools that synthesize the product from a prompt.
For supporting reading, see making AI product photos look more professional, maintaining a consistent aesthetic across AI images, making AI product photos more consistent, blending a product into a background image realistically, and the related vertical write-up on AI product photography for electronics and gadgets.
Editing Reflections in Photos You Already Have
Many readers are not starting from scratch. The question is what to do with files that already contain the photographer in the bottle or the room in the chrome.
The traditional pipeline is frequency separation and clone stamp work in Photoshop. It is slow per image, often $50 in retoucher time, and it tends to flatten the gradient that defines gloss. The clean part of the surface ends up looking smoother than the rest of the photo, and the eye reads it as plastic.
The modern alternative is AI-based surface editing that operates on the reflective region rather than touching individual pixels. The goal is to remove the unwanted environmental reflection while leaving the highlight gradient that makes the product read as glossy.
When to use which. Hero campaigns may still merit hand retouching. Catalog cleanups, listing tiles, and large back-catalog refreshes are the case for AI editing.
Clone-stamp retouching tends to flatten the gradient that defines gloss. AI surface editing is designed to keep more of that gradient intact while removing the environmental content.
Frequently Asked Questions
How do you photograph shiny objects without showing the reflection of the camera or photographer? Position the camera and any lighting hardware outside the family of angles for the surface, the geometric zone where light reflects from the product back into the lens. In practice this means shooting through a hole in a black flag or a light tent, with the rig hidden behind a controlled black surface. At catalog scale, a Nightjar Photography Style sidesteps the physical rig by rendering the controlled-reflection scene rather than capturing it.
What lighting setup works best for reflective metal and glass products? For polished metal, fill the family of angles with one large soft white plane and let everything outside it go to controlled black, producing a clean white-to-black gradient across the curve. For clear glass, choose between bright field (lit white background, black flags either side for a dark contour) or dark field (dark background with grazing backlight for bright edges). Both rules trace back to the same principle: replace the chaotic real environment with an intentional two-tone treatment.
Should you use a polarizing filter for product photography? Yes for non-metallic reflective surfaces such as lacquered plastic, glass, and stones, where a polarizer reduces non-metallic surface flare. Cross polarization between a polarized light source and a polarized lens filter goes further and is standard for jewelry. Polarizers do not eliminate metallic reflections, which still require physical light shaping with flags and softboxes.
How do you keep the natural shine on a glossy product without blowing out the specular highlights? Use a large soft light source rather than a small hard one, and meter for the gradient rather than the brightest specular point. The signature of a well-shot glossy product is the smooth transition from light to dark across the curve, not a sharp white spot. Over-diffusion flattens the surface entirely, so leave directional information intact.
Can you remove unwanted reflections in post-production without making the product look fake? Traditional clone-stamp and frequency-separation retouching tends to flatten gradient highlights, which is what makes a glossy surface look like plastic after editing. AI editing such as the Nightjar Edit workflow rewrites the reflective region rather than copying pixels, which is designed to keep more of the gradient intact while removing the unwanted environmental content.
What is the cheapest way to shoot reflective products consistently across a large catalog? Physical photography becomes expensive at catalog scale because the lighting puzzle has to be solved per product, with quoted per-image rates in the $25 to $70 range before retouching, coordination, and sample shipping are layered on. Reusable AI image generation that anchors on the real product, such as Nightjar with a Photography Style and Recipe, runs near one Credit per image and applies the same reflection logic across the entire catalog from a single setup.
How do you avoid fingerprints and dust on glossy product shots? Handle with cotton or nitrile gloves, wipe with a microfiber cloth before every frame, and use a small amount of distilled water or a vinegar solution on stubborn smudges. For jewelry and faceted crystal at macro distance, every particle of dust is amplified, which is the leading documented mistake in jewelry photography. Rendered workflows sidestep this entirely by starting from one clean reference rather than a physical product handled across hundreds of takes.
References
- Nightjar - AI product photography that anchors on the real product
- Visual Education: lighting angles and reflection - The family of angles principle
- Specular highlight (Wikipedia) - Foundational definition
- Negative fill (Wikipedia) - Subtractive lighting reference
- Effects of Specular Highlights on Perceived Surface Convexity (PMC) - Peer-reviewed perception research
- Advanced Illumination: bright field vs dark field - Industrial imaging foundations for glass setups
- Replica Surfaces: art and science of reflective surfaces - Negative fill and practical setup
- Photography Artist: controlling specular highlights - The gradient standard
- Pro EDU: cross polarization - Polarization workflow
- Tom Crowl: avoiding reflections in jewelry - Working jewelry setup
- Picup Media: jewelry photography mistakes - Cleanliness and dust
- Pixelz: photographing highly reflective products - Reflective workflow context
- Pixelz: more product images lead to more sales - Conversion data
- Squareshot: product photography rates - Per-image cost benchmarks
- Amazon Seller Central image requirements - Official platform rules
- Seller Labs: Amazon product image requirements - Plain-English summary