Can I replace a product in an existing lifestyle photo with a new version using AI?
3 min read
Quick Answer
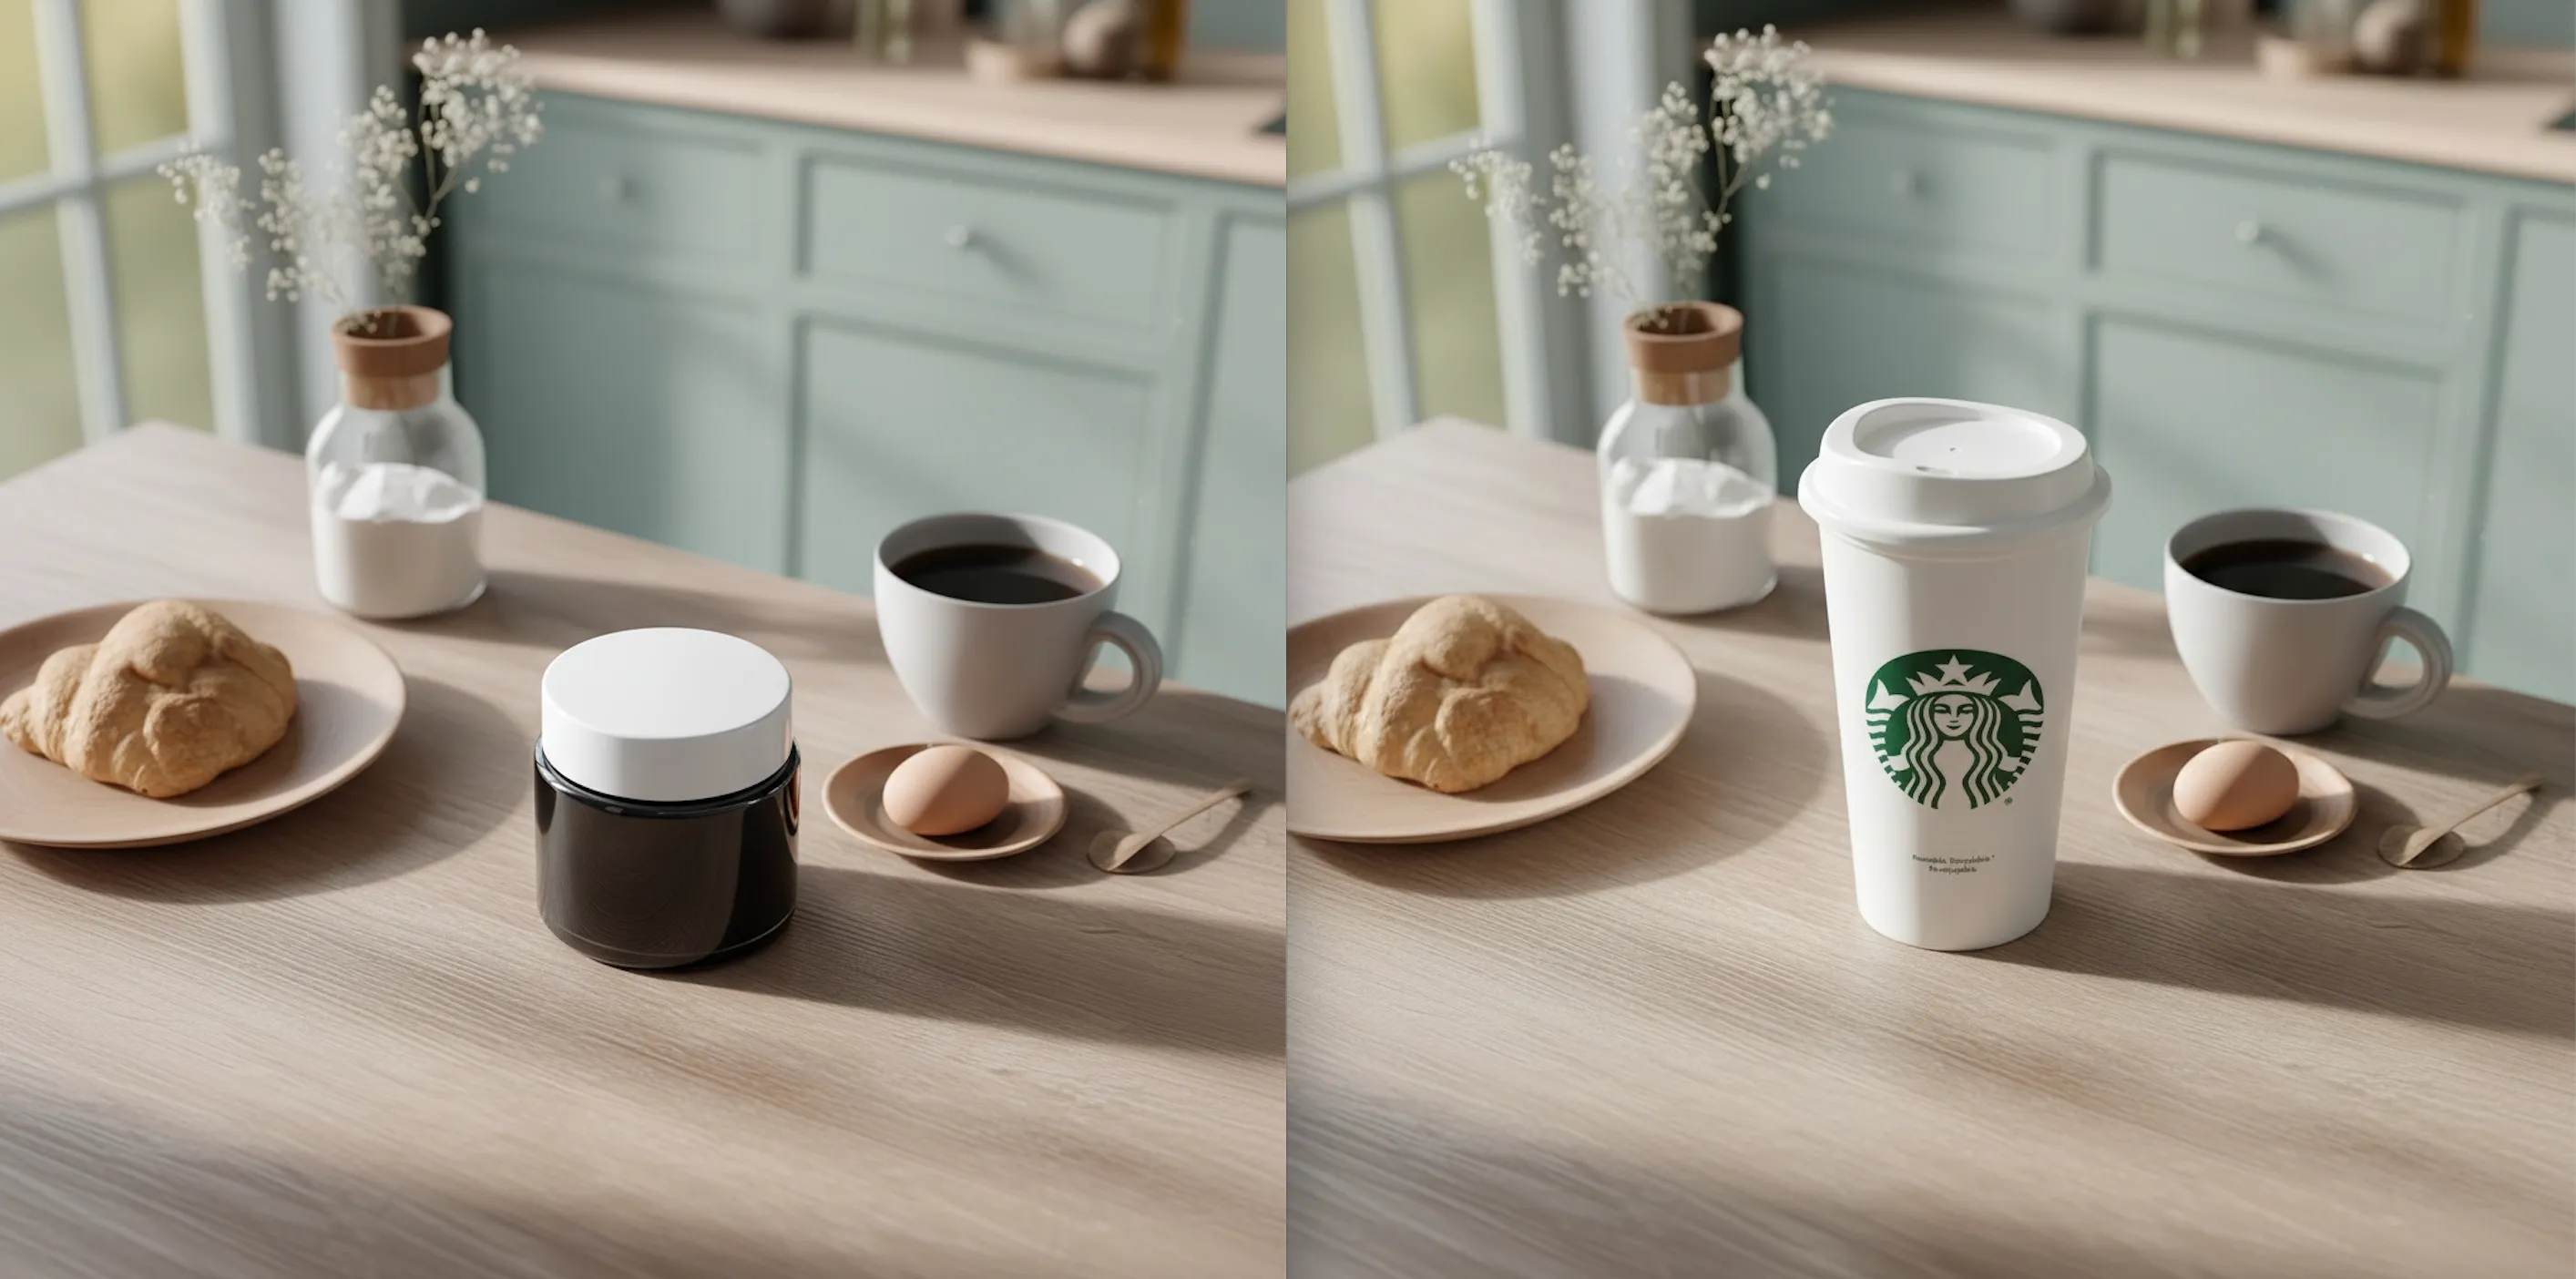
Yes. In Nightjar, open the multi-image editor, add the existing lifestyle photo and the new product image to the board, and apply the Product Placement edit shortcut. Nightjar reads both images, drops the new product into the original scene, and is designed to preserve the existing lighting, shadows, model, and framing so you don't have to reshoot the campaign.
Use case: keeping the hero shot
A strong lifestyle shot from last season (good lighting, the right model, an art-directed scene) is expensive to reproduce. When the product changes (new packaging, a new flavor, an updated SKU) the rest of the image still works. Editing the existing scene with a swapped product is faster than running the whole shoot again.
How to replace a product in an existing lifestyle photo
Nightjar's Edit tab is a plain-English, multi-image editor: you add up to 8 reference images to a board and refer to them directly inside the prompt as @image1, @image2, etc. Common edits have a one-click shortcut Nightjar calls an Edit Shortcut, which pre-fills the prompt for you. Product Placement is the canonical Edit Shortcut for swapping a product into an existing scene.
1. Open the Edit tab From the canvas, switch to Edit. The board accepts up to 8 input images.
2. Add both images to the board Add the existing lifestyle photo and the new product image. The Product Placement Edit Shortcut handles which image is which.
3. Apply the Product Placement Edit Shortcut
The shortcut pre-fills a prompt like place the product from @image1 into the scene of @image2. Pick the new product image for the first pill and the existing lifestyle photo for the second.
4. Refine placement with extra instructions (recommended) After the shortcut fills the prompt, append a sentence describing where the product should sit. Nightjar calls this layer Custom Directions: free-form instructions that refine the result on top of the structured shortcut. Examples:
- "Replace the old jar in the model's hand."
- "Position the new package on the table where the previous one sat."
- "Center the product in the foreground."
Specific placement language gives Nightjar a clearer target than the shortcut prompt alone.
5. Set output controls
- Aspect ratio: match the original photo's ratio with the inline
/ratiocommand so cropping stays consistent. - Output format: choose JPEG, PNG, or WebP via the inline
/formatcommand based on where the image will be used.
6. Generate Submit the edit. Nightjar reads the lighting and shadow direction of the original scene, places the new product with matching light, and is designed to preserve the rest of the image (model, props, background, framing).
When this works well, and when to reshoot
Product replacement works best when the new product has a similar footprint to the old one (similar size, similar grip if it's being held, similar surface contact). When the new SKU has a very different shape, finish, or scale, the original shadow geometry no longer fits, and a fresh shoot (or a new lifestyle image generated from scratch) will give better results than a swap.
If you need several variants of the swapped scene (different angles, crops, or framings of the same setup), you can take the resulting image into Photoshoot, a Nightjar workflow that expands one image into four cohesive variants that feel like one session.
Consistent and on brand AI photoshoots, optimized for conversion.
Nightjar